Here in October, we farmers all a little (or a lot) weary as the 2019 growing season winds down. Every year in autumn, I go through quite the range of emotions. So much bittersweet relief, anxiety, anticipation, unease, antsy-ness, appreciation, and much more as the killing frost looms ever closer. My life immediately becomes much more balanced after frost! No more 12+ hour days and home in time every day for dinner! However, there is still so much critical work to be done even after frost!! Putting a flower farm to bed for the winter is a multi-step process. Here at Love ‘n Fresh Flowers, that involves quite a few key tasks, which I thought it might be helpful to outline, especially for any new growers reading this.

Get a Soil Test
Stop what you’re doing RIGHT NOW and go take soil samples! Testing soil in the fall means you can add amendments now that will make your soil super happy for next year’s crops. If you wait until spring to test and amend, you’re usually missing the boat for most of your spring crops. Bonus: since most home gardeners don’t think to test their soil in the fall, the lab won’t be as busy and can get your results back to you much sooner. We get our soil samples tested by Penn State Extension.
Get Your Supplies Ready for Putting a Flower Farm to Bed for Winter
I make sure to get a big delivery of compost in mid-October, usually a tri-axle’s worth. Any that we don’t use isn’t going anywhere and will be handy to have waiting for us in the spring. I also get a palette of Fertrell organic fertilizers in so that we have those bags of amendments on hand as we work on the beds over the course of the late autumn. And I also get my orders in for cover crop seed so there’s no chance of missing a good sowing window when the weather is warm(ish) and rainy. I’m usually placing all these orders in mid-September so they arrive at the end of the month.
Clean Out Annual Beds
As annual crops finish for the season, be sure to remove them from the beds. Rather than rip them out of the ground, roots and all, we’ve recently taken to just cutting them down, right at the soil level. There are a couple benefits to doing it this way. One, it saves our hands and back a bit. I usually just take my beloved DR walk-behind trimmer right down the middle of each bed. We then use rakes to gather up the debris to put on the compost pile. By not disturbing the roots, we’re also not pulling up weed seeds. And we leave the dynamic soil web of life intact, giving it a better chance to survive the harsh winter ahead and live on to develop symbiotic relationships with our spring crop root systems.
Sow Cover Crops
If you’re not going to be planting cool annuals or bulbs into a bed for growing over the winter, do yourself and your soil a favor and sow some cover crop seed. Cover crops provide a “blanket” for the soil over the winter, protecting the soil structure from heavy rains that cause compaction and erosion. Cover crops also feed the soil microbes and will eventually add biomass to your beds when you cut them down in the spring. Master overwintering cover crops and hopefully you can get away from applying so much compost! At my farm, I use a mix of vetch, cow peas, mustard, and winter rye in the beds, with white clover for in the aisles. As soon as an annual bed gets cleaned out, we’re sowing cover crop seed. We’re no longer tilling at my farm so we go through with a hard rake and scuff up the soil just a bit before broadcasting the seed on the bed. Then we go back over the bed and apply about an inch of compost. Best to sow cover crop seed on a day when you see rain in the immediate forecast.
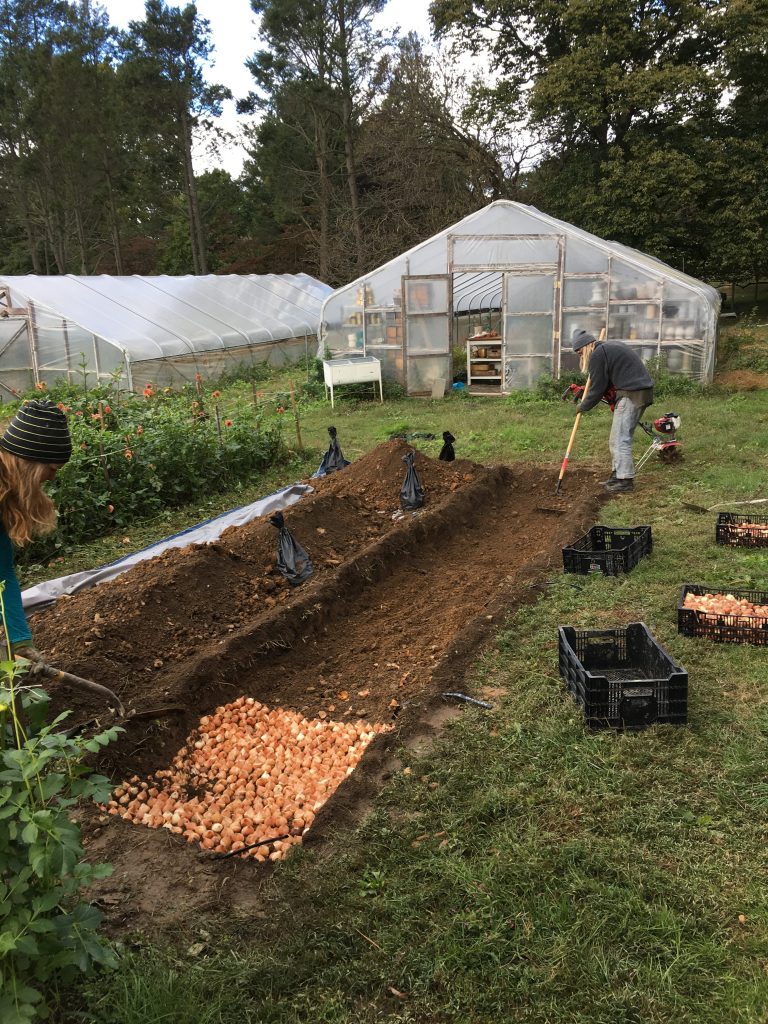
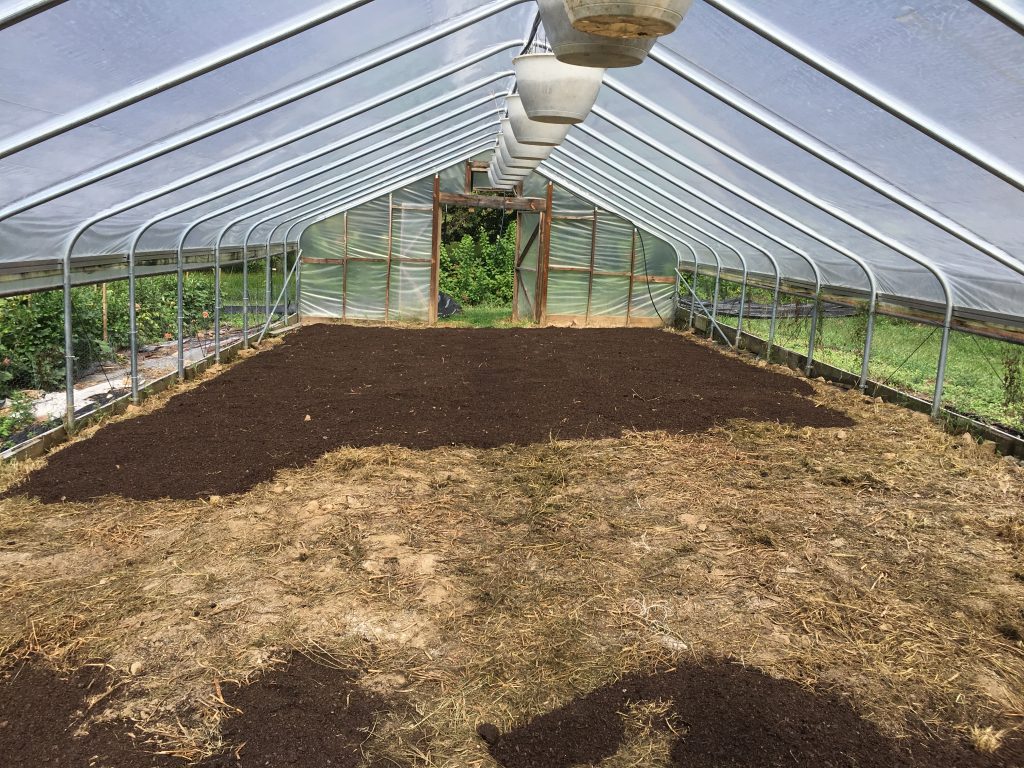
Prep and Plant
In order to be in abundant bloom for our busy May and June wedding season around here, we plant more than 7,000 cool annuals and 3,500+ bulbs each autumn. So, clearly, there’s a lot of bed prepping to get all of that into the ground! Since we’ve gone no-till at my farm, our autumn bed prep involves a little more planning ahead. In August, I put about 1200’ of bed space into cover crop (buckwheat). In mid-September, that gets mowed down and a tarp goes over it for about another two weeks to be sure the buckwheat is dead. Tarp comes off and about 3” of high-quality compost goes down. Then the cool annuals that we’ve been growing on in 128 trays since August get planted into those beds. Note: If you don’t have the bed space to spare to put any beds into cover crop, don’t fret. You can just keep growing your cash crops, one right after the other, without using cover corps. Just be sure to amend your soil with any needed nutrients and compost before planting the next round of cash crop(s).
Clean Up Perennial Beds
Weeds need to be removed from your perennial beds. It’s tempting to just close down the farm as the weather turns damp and chilly, walking away from fading weeds in your shrubs and perennials. But those weeds are harboring nasty pests like Tarnished Plant Bug (ugh!) and removing them is the best way to keep your farm healthier in the long run. So part of putting a flower farm to bed for winter is weeding, even if the weeds are dead!
Perennial & Woody TLC
After clearing any weeds, it’s a great time to get in there and give those hard-working – yet oft neglected – perennials and woodies some TLC. All of our perennial plantings are in black landscape fabric. On a rainy November day, I walk all the rows with a blow torch and enlarge the holes for any plants that have gotten more girth over the growing season and could use some more breathing room. Once that chore is done, we go back across all the beds and side-dress them with compost and/or amendments according to the soil tests.
Low Tunnels
After too many battles with the wind in icy cold rain, I’ve long ago given up on caterpillar/low tunnels at my farm. But if you’re planning to use them to protect tender crops like ranunculus and anemones, you’ll be wanting to get those up before the weather turns cold. Make sure you have all the supplies on hand by the time frost comes to your farm and work to get them up over your beds soon after. We do use floating row cover on wire hoops to protect our cool annuals (a la the infamous Lisa Z.). These thankfully don’t blow away in the winter like the plastic caterpillar tunnels. We put row cover on the cool annuals usually in mid-December. Any sooner and our sunny days in late November will overheat the young cool annuals under the cover.
Preempt Slugs
Slugs are a serious problem for anyone trying to grow cool annuals over the winter. Slugs remain active as long as it’s above freezing. Your cozy little tunnels with tender young green growth are Eutopia for these greedy gastropods. In the past, I’ve had a team of ducks who did an amazing job at slug control. Sadly, the foxes did an amazing job at duck control. Now I use Sluggo pellets on all my overwintering planting beds to ensure slugs don’t mow down a crop overnight. Applying it a few times throughout the winter is a good idea too.
Dig & Divide
Just a brief mention that autumn’s the time to dig and divide dahlias and perennials. But that’s a topic for another time. One very important note for new growers: Do NOT dig your dahlias until several days after they turned black from a true killing frost. If you dig them before they’ve actually been killed off and had time to send their sugars down to their tubers, you’ll likely experience higher losses during tuber storage and initially weaker plants the following season.
It’s nice to aim to be wrapped up with putting a flower farm to bed for winter by Thanksgiving. At that point, it’s time to stock up on some good books to read (I’m digging into Dirt to Soil at the moment), tackle lots of “office” projects like updating the website and crop planning, and taking a much needed vacation!
Having a late fall here west of Pittsburgh. I’ve heard that if there’s no killing frost by November 15 it’s safe to dig the dahlias. True? Or should I wait for killing frost regardless of how late?
You should be totally fine to dig at this point. The plants start shutting down at the days get so short so they’ve already sent their sugar stores to the tubers at this point. Best to get them dug up now before the weather gets too cold and unpleasant for the task! 🙂