
No-till flower farming is a system of farming that (nearly, if not entirely) eliminates the turning over of the soil, be it with machinery or by hand. There are many reasons that may spur a farmer to decide to go with no-till farming practices. Mine specifically were a notable decrease in yields due to soil compaction, continual loss of organic matter that I could just never seem to add enough to replace, and a very wet growing season in 2018. That last bit is what really catapulted me into going wholly into no-till flower farming in 2019. The tractor and tiller have not come out once yet this season!
I’m by no means an expert in no-till farming at this point. Honestly, I’m barely a beginner. I leaned heavily on my winter reading and research to get going. Andrew Mefferd’s book The Organic No-Till Farming Revolution: High Production Methods for Small-Scale Farmers has been the foundation for what I’ve decided to implement this first season of no-till flower farming. I highly recommend giving it a read for the numerous case studies that it contains from diversified farms all over the country/world! I’ve also gleaned a lot of information from my inspiring friends, Tony and Denise, at Bare Mountain Flower Farm out in Oregon.
The system for no-till flower farming that I’ve currently settled on for the 2019 growing season is as follows:
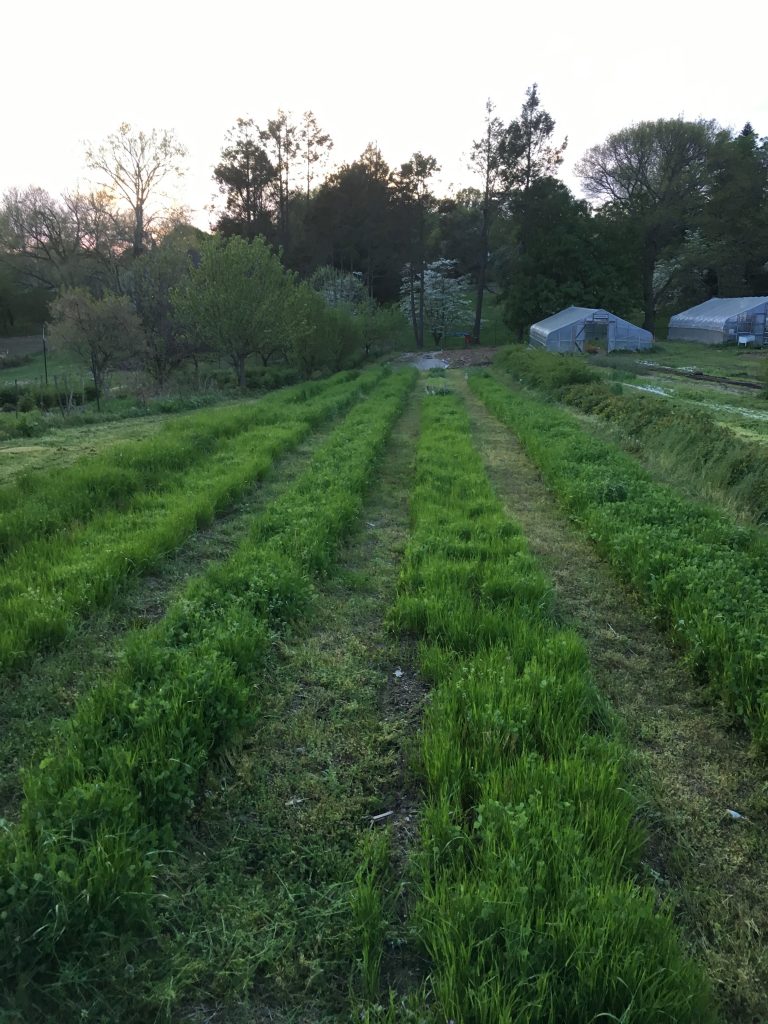
- Cover crop (a mix of rye, vetch, and clover) that was sown last fall and growing vigorously this spring was maintained with bi-weekly mowing until a given bed was ready to bring into production, at which point, the cover crop was “scalped” with a push mower.
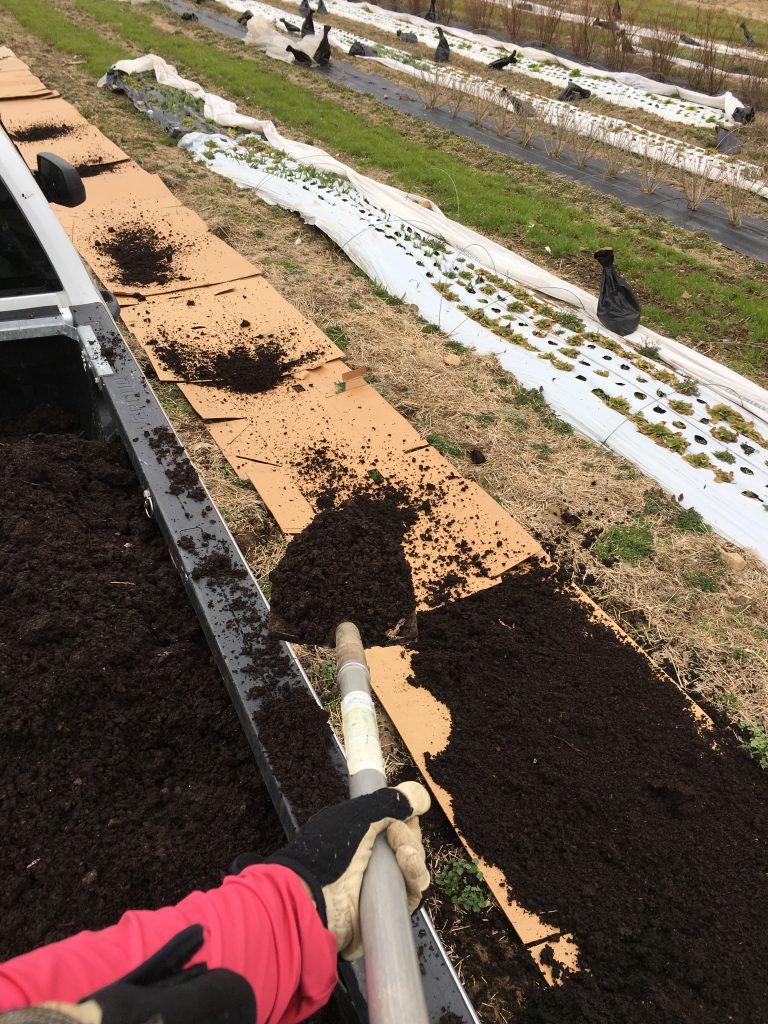
- A single layer of large cardboard pieces was placed on top of the bed. Cardboard was 4’ wide and beds are 200’ to 250’ long.*
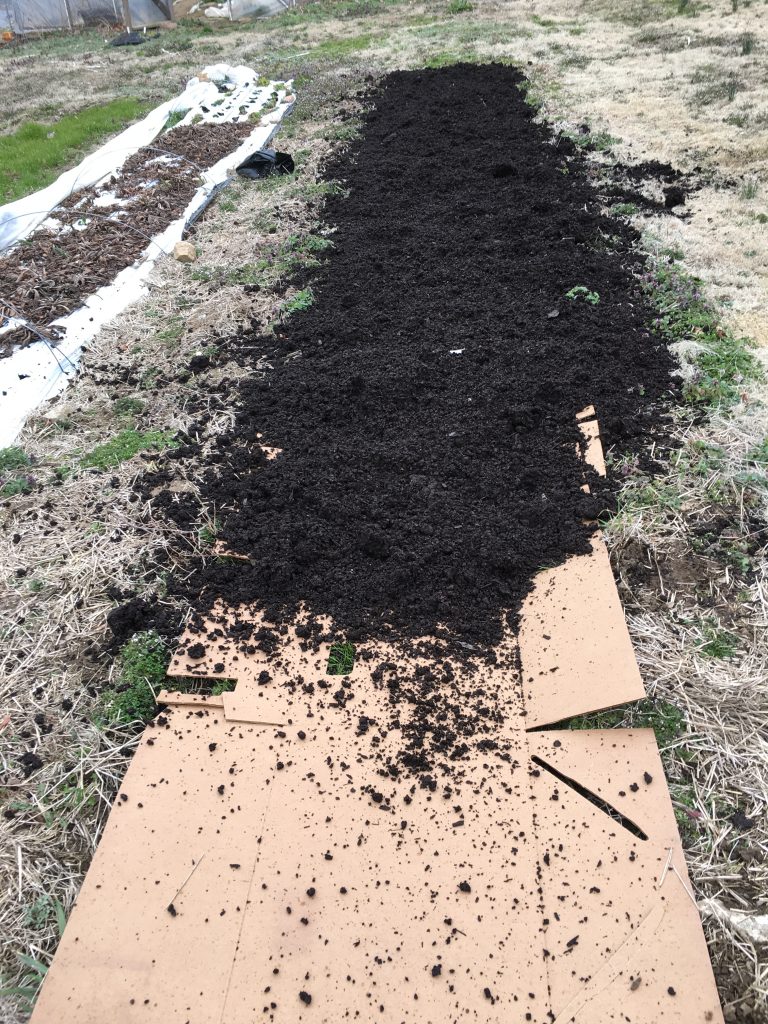
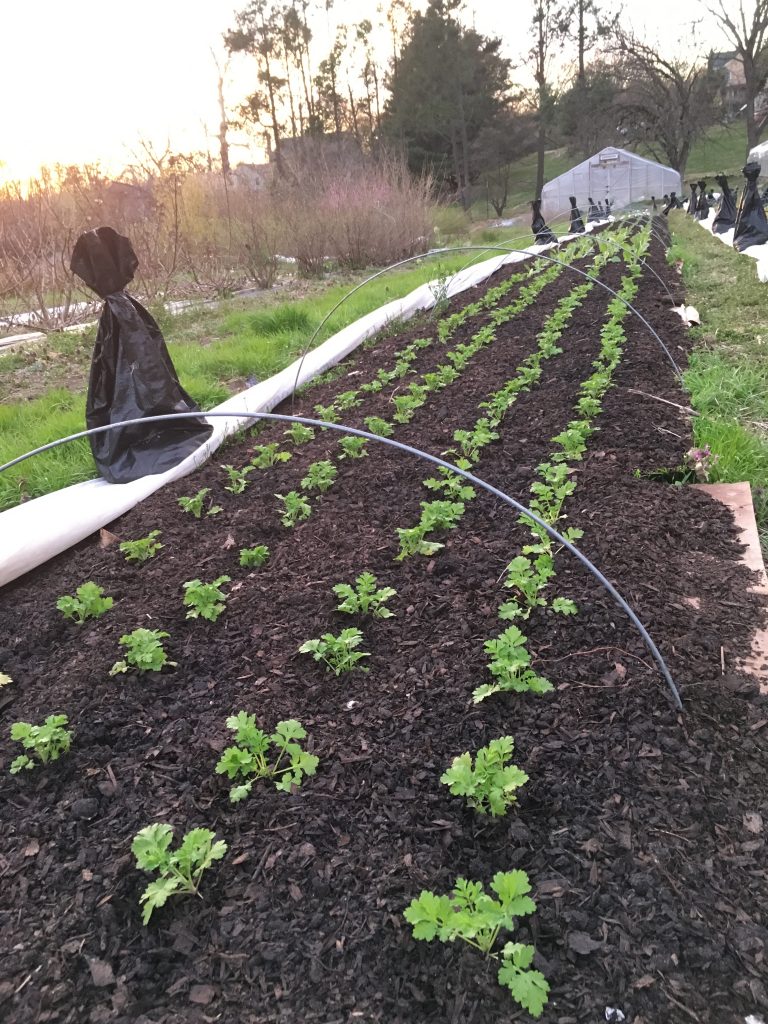
- A deep layer (3”-4”) of well-aged compost was spread on top of the cardboard the full length and width of the bed. I was very careful to source a high-quality, aged compost for this.
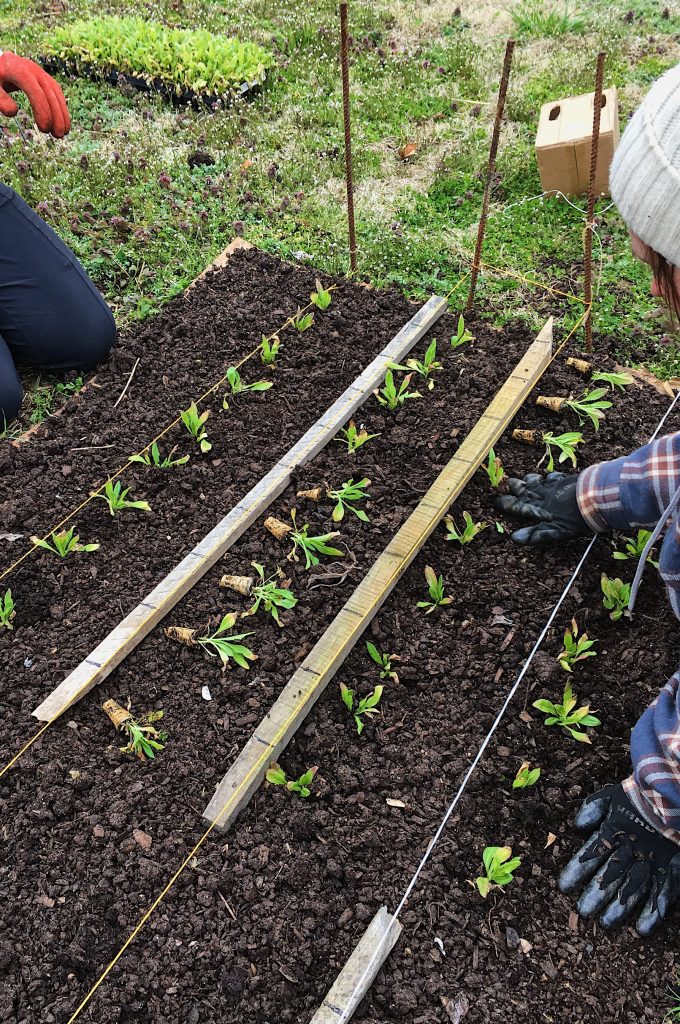
- Guide strings were used to keep straight lines as we transplanted four rows per bed, spacing between plants has been 4” to 6”, depending on the crop. A soil knife has been the best tool for planting, as we have been able to puncture the cardboard with it to ensure the transplant root systems can reach the soil below as they spread out. The transplants do not initially reach the soil though; their root balls are surrounded by the compost only. We have not attempted any direct seeding into this system.
- Three lines of drip tape are placed on top of the bed after planting is finished. We had originally put the tape on first but we were hitting it too much under the compost and had a bevvy of leaks so putting it on top seems to be prudent with this system.
*A quick note about cardboard, as I’ve fielded a lot of questions about this already whenever the topic of no-till flower farming comes up in conversation: I’m using mostly cardboard that a local appliance store puts out for recycling. I’ve also been using some shipping boxes that a retail florist occasionally brings over. The key is to use big pieces of corrugated, brown (not colored) cardboard so that it’s easier lay out a long row quickly and efficiently. Little pieces of cardboard would blow around in the breeze. Basic corrugated cardboard is made from all-organic materials (soy based ink, animal hide glue, paper) so it is completely safe to use in your growing operations. The cardboard in the beds here at my farm has been noticeably breaking down about 3 weeks after planting so it doesn’t stick around too long, but long enough to suppress the cover crop and any weeds that would want to pop up among the young transplants.
So far, I give this system a big thumbs up! It’s not perfect by any means, but it’s working well. The downside has been the extra labor of hauling all that cardboard and compost around. The compost is also fairly pricey, but I figure it’s a worthy long-term investment into future seasons of higher yields. In terms of labor, our weeding time has gone WAY down so far this season on all our no-till flower farming beds (in comparison to our old system of using plastic mulch over a tilled bed.
Another potential downside has been that plants initially are sluggish to get growing until the cardboard starts breaking down. I was worried at first. But the plants start growing vigorously as soon as they get really settled in after a few weeks and now seem to be outpacing where they would normally be at this point in the season. I believe I’ll forego using cardboard in another season or two. First, I need to master the art of stale-bedding with tarps in a more timely fashion so that the cover crop is truly dead before we start planting in a bed. For now, the cardboard has been essential.
Ultimately, what I had hoped for with this pivot to a no-till flower farming system has indeed happened: we’ve been able to plant right on schedule even throughout a stormy, wet spring. If I was still relying on my tractor and tiller, we’d be weeks behind. So even if the plants are a little sluggish after planting, I’ll still take it. Because, HEY, they got planted!!
Read more flower farming related blog posts here and expect an update on no-till flower farming at the end of this growing season.
Thank you for sharing! I’ve always created my home gardens this way, now I am inspired to try it for production! All the best from Celadon Hill in Baldwin Maryland!
I love this article you wrote. Would you broadfork earth that has not been worked in many years before adding the cardboard and compost?
Thanks, Derek! I have not broadforked anything at my own farm, but broadforking would be useful if your natural soil is pretty compact at the time you are converting to this system.
Thank you for this! You mentioned using tarps for stale-seed beds. When would you do this if using a cover crop on the same bed? Or do you not use cover crop after a stale seed-bed tarp/ Preparing to cover crop my flower farm after the first season.
We don’t use tarps prior to sowing cover crop seed. We just broadcast the cover crop seed directly into whatever crop it is that we mowed down in that bed. We only use the tarps on beds we plan to put cash crops into next.
Thanks so much for posting about this subject. I’ve purchased 5 acres and plan to start a cut flower business. This is an odd question but I wondered what you would do with an Olympic sized riding ring for horses that is covered in 3″ of bark mulch and under that 2″ of crushed rock and drain tiles? I would be really grateful for any thoughts you’ve got on it. Do I need to remove everything and then truck in tons of soil and compost? Or do you think I could leave the bark and rocks and truck in soil and compost to start a no-till flower bed? Thanks so much!
Hello! Do you think zinnia seed will germinate in leaf compost?
Hello, I want to let you know about a better paper product than cardboard. I have used newspaper, several layers thick, wetted, topped with delicious compost. It has stood the test of time and been used over and over again. I start new garden beds this way to save on digging time.
Recently, I have purchased boxes of moving paper from UHaul. It is a bit harder to find old news papers in the quantity I need.
Hi Jennie,
Do you think the no-till method is appropriate for home gardeners? If so, would I need to do a cover crop?
Absolutely! Look up Charles Dowding in the UK. He’s all about helping educate home gardeners about no-till (he calls it no-dig). Cover crops are always beneficial to the soil, no matter what size of space you are nurturing.
https://charlesdowding.co.uk/
Great post and thank you for listing the Charles Dowding post. His write up for beginners and photos really helped me visualize how to start, especially on top of grass in my yard.
Best and blossoms,
Lana
Newbie gardener here. Would this work for home gardening as well? We are converting turf lawn to clover and planting native flowers for wildlife. We’re working against non-native, invasive plants. I could really use some advice.
Yes, it will absolutely work for the home gardener. We’re on our second year now, and are having great success. I would say, though, that you absolutely MUST source compost that is well-rotted and pesticide free. Compost from animal manure can be troublesome – often it’s not decomposed enough and pesticides can persist through the digestive tract of the animal and still be present in the “finished” compost. This was our biggest problem. If you can’t make your own in large enough quantities, I would purchase compost and let it sit on your property in a neglected corner for 6 months to a year before using it. Also definitely do check out Charles Dowding – he’s a wealth of resources.