There’s an old farmer’s saying:
“Make hay while the sun shines.”
It never rings more true for me than in the warm days of April. While there’s no hay on my farm, there is a lot of work to get done while the sun shines. Spring rains often foil one critical task in particular: making the planting beds. Wet soil is easily compacted and also mucks up the tiller. The best time to till is when the soil is just moist enough to hold together in a loose ball when you squeeze a handful tight, but with no excess moisture at all. Too dry and the soil will loose its structure, and you’ll be covered in dust.
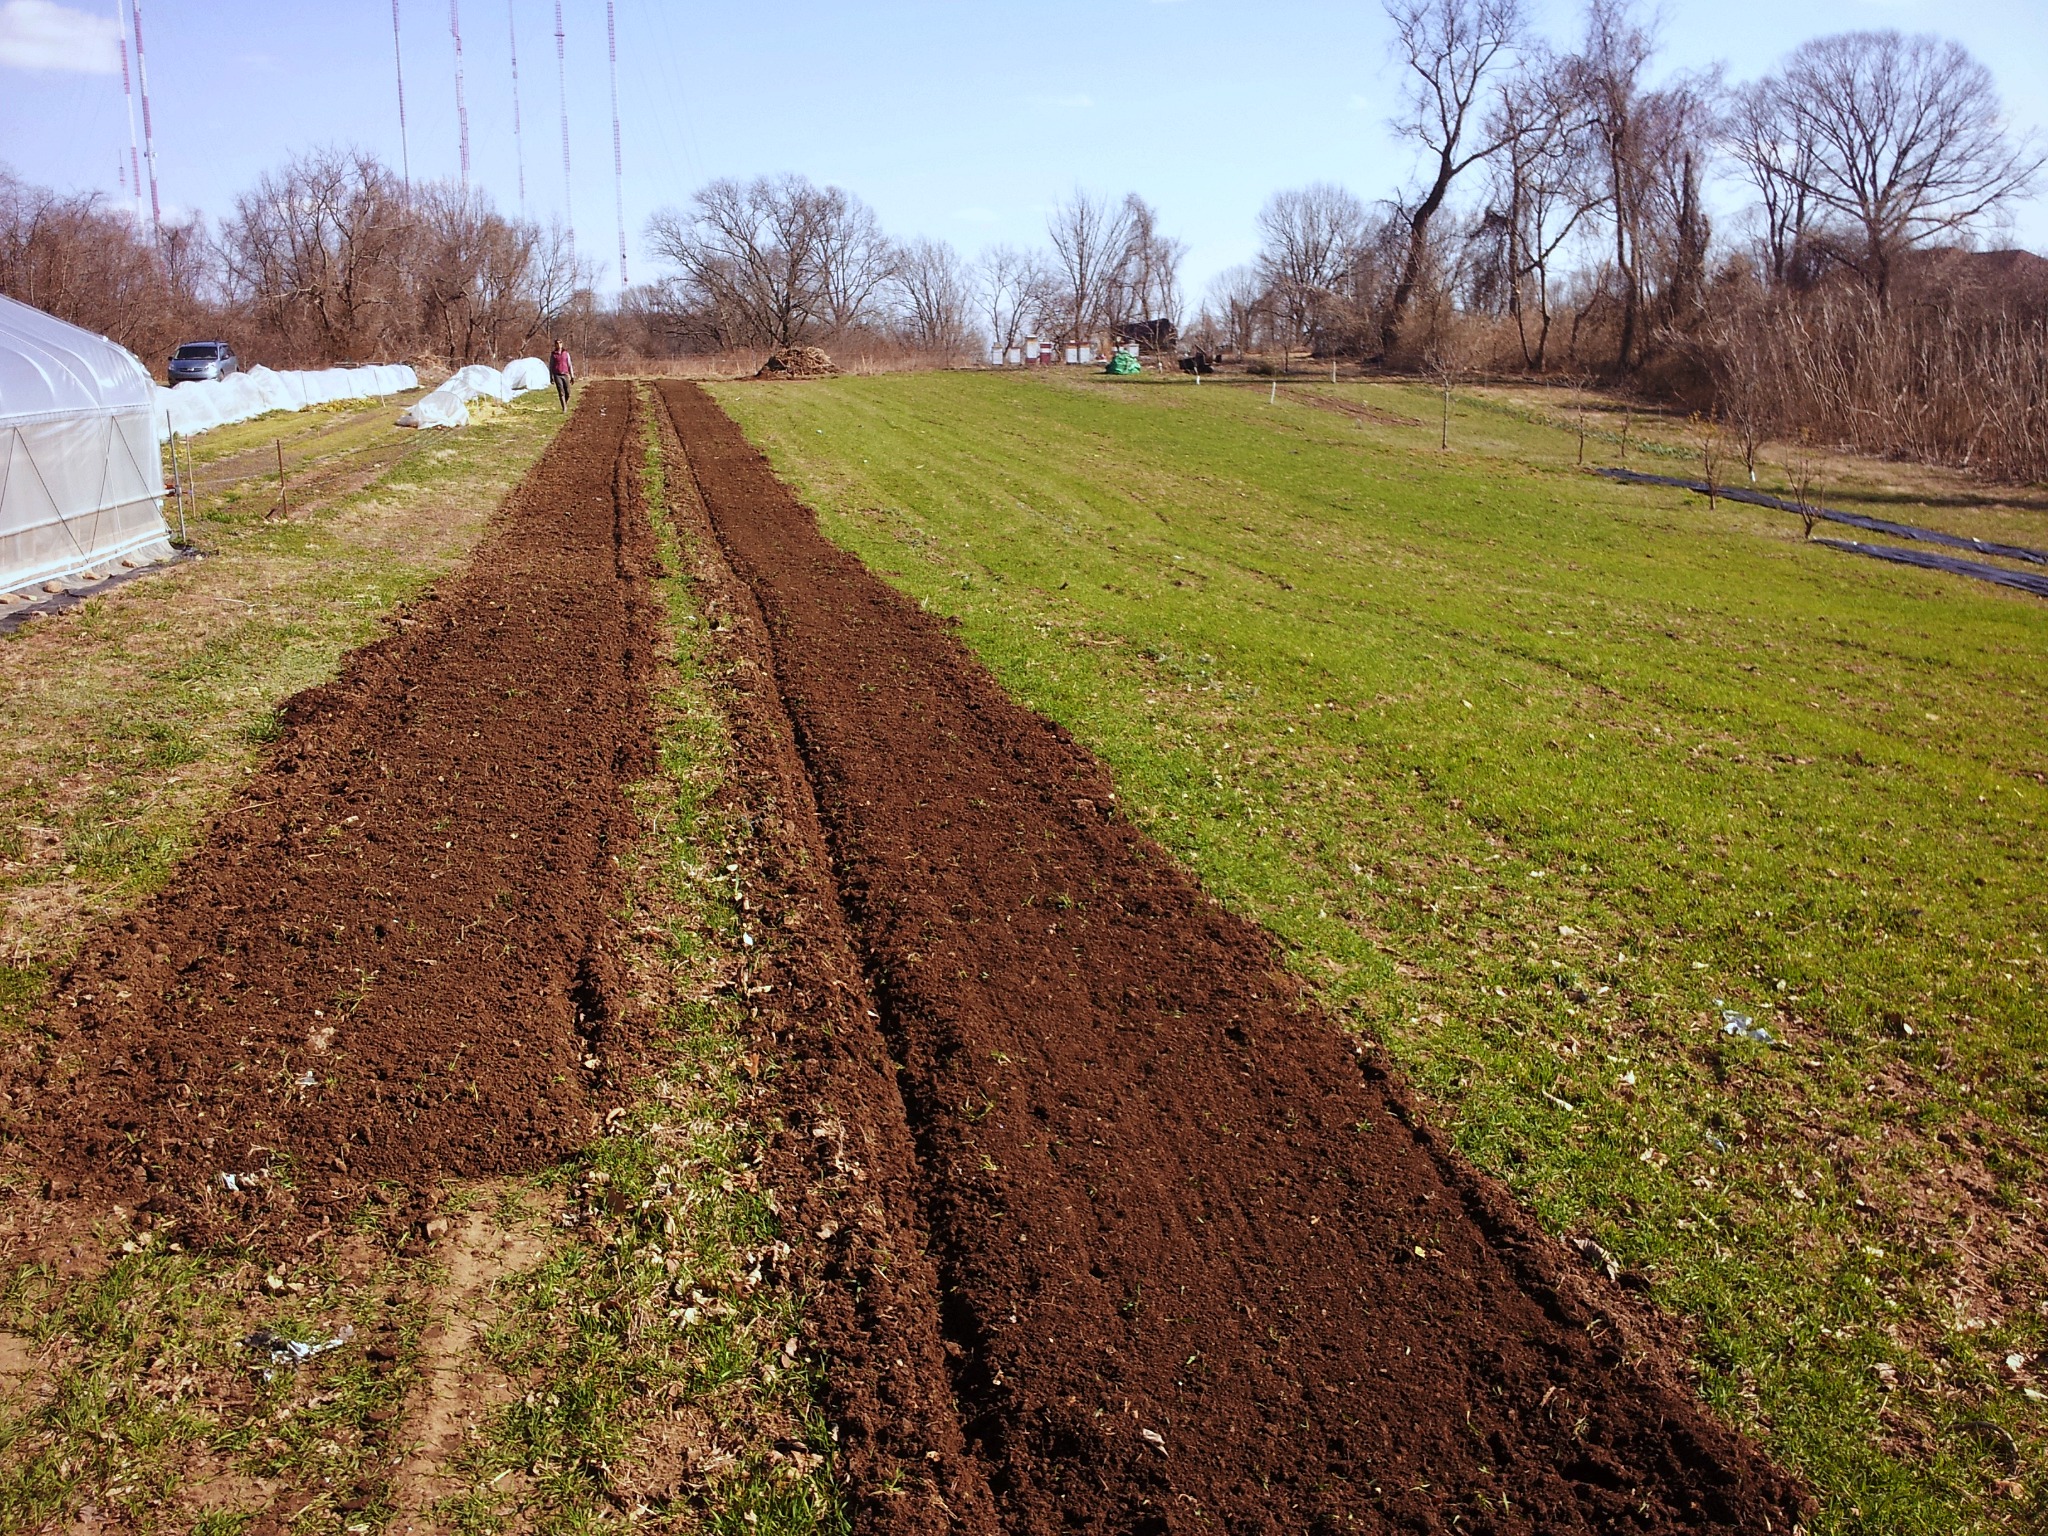
This week was a great one for making planting beds. We had lots of rain a few days earlier, and the sun has been shining since so the moisture level was perfect. And the air temperatures were cool and comfortable, a very lovely thing indeed because making planting beds on this little flower farm is very labor intensive, as you’ll see.
The field has been planted since last fall in a cover crop of winter wheat and clover. The wheat has really taken off in the past week with the spring warmth. It adds great biomass to the soil when tilled under, and it’s been doing a superb job at suppressing the spunky spring weeds.
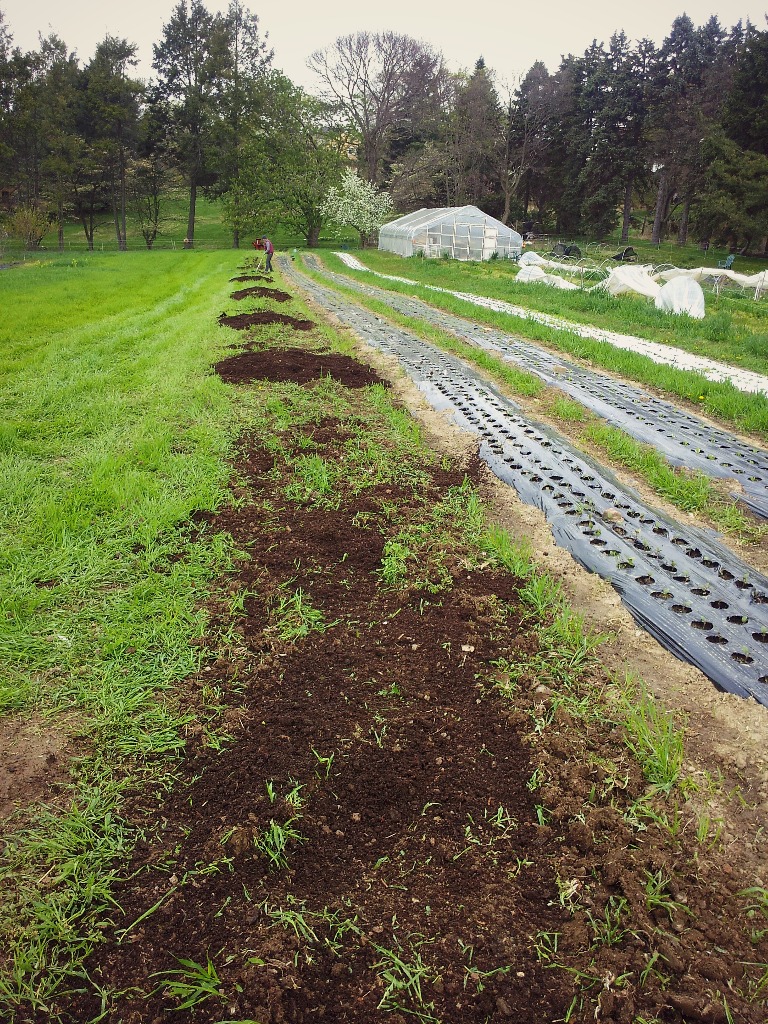
Making the Bed
First, the front-end loader on the tractor is used to spread out piles of rich, aged compost along the swath that will be the planting bed. Then we go along with a metal hand rake and spread it out as evenly as possible. Ideally there would be a thickness of an inch or more of compost on the bed. Since I added a huge amount of compost last fall before sowing the cover crop, this spring we’re not adding quite so much.
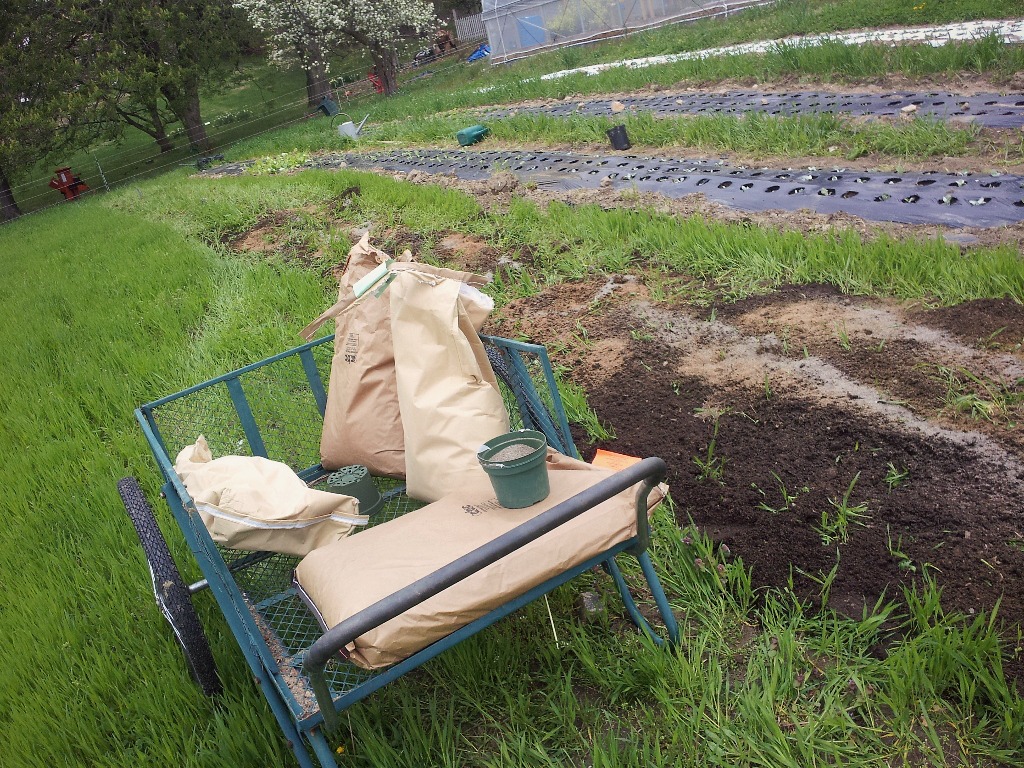
Next, I go along with my handy garden cart and spread by hand two types of organic fertilizer. One is cottonseed meal. That’s great for adding a nice slow-release nitrogen that the plants will use to grow big over the season. The other fertilizer is a “green potash” which is essentially a mixture of ground-up sea organisms (think krill and kelp) and a mined mineral that releases water-soluble potassium for the plants to take up. This helps a great deal with flowering and overall plant health.
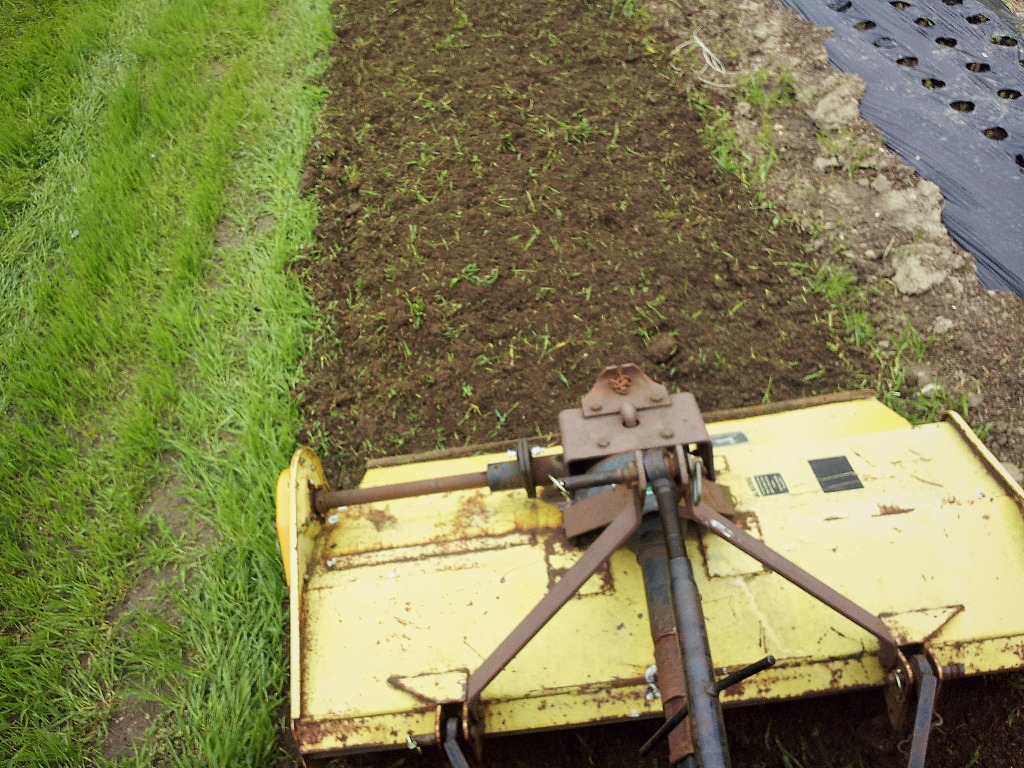
Once the compost and fertilizers are spread, I jump on the tractor and till everything in, going back and forth a few times to get a nice fluffy bed. I leave just a smidge of wheat standing between beds to become our walkways for the season. The wheat continues to grow in these paths, getting mown every week or so, until the high heat of summer kills it. By that time, the weeds aren’t nearly as feisty so we generally don’t have too much trouble with weed control in the walkways.
After the bed is tilled, it’s time to lay the drip tape for irrigation. Two lines are laid for each bed, with emitters for the water every eight inches. We use landscape staples to hold the lines in place every fifty feet or so. The lines are tied off with tight knots at the end to keep them from leaking. The drip tape connects to a “header” line at the top of the field, which in turn connects to a main line to the well. The irrigation system is set up in zones with automatic timers so watering happens with super efficiency. There’s nothing worse than lugging around hoses to water when you’ve got a million other things to do on a hot summer day.
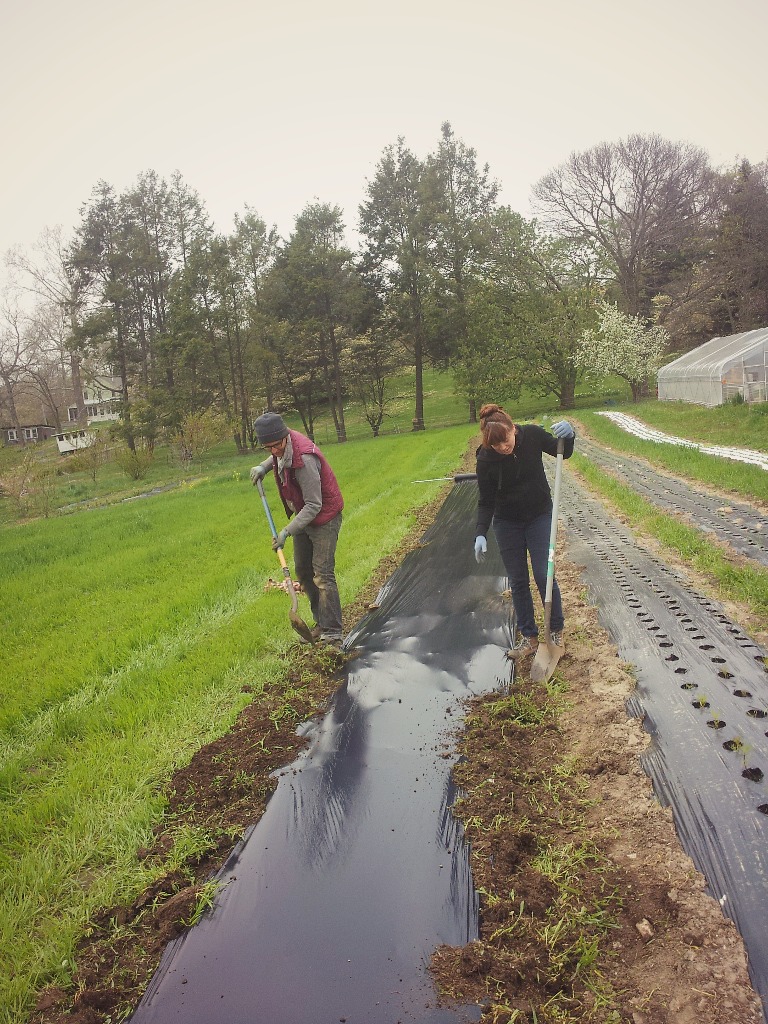
With the drip tape in place, two people work together to roll out the plastic to cover the bed. This task is the one you don’t want to do on a hot day as it’s very tiring! We use plastic on the beds for two reasons: it is a huge labor saver when it comes to weeding (the field is rampant with wild amaranth, chickweed, and mile-a-minute vine) and it helps conserve moisture in the soil. It is my dream to eventually get away from plastic once the weed seed “bank” has been depleted, and we’re no longer fighting a loosing battle with them. It would be great to just “lodge” (crush with a heavy roller) the wheat each spring and plant into that instead.
In any case, for the time being, we roll out thirty feet of plastic or so at a time and work together to shovel soil onto the edges to hold it down. It’s important to keep the plastic as taught as possible so we tug on it a lot and step on the edges with our feet to keep it tight until the soil holds it in place. The 300 foot rows at the farm never feel quite so long as they do when we’re putting on the plastic. My goal is to have a mechanical plastic layer for the tractor ready to use in the near future.
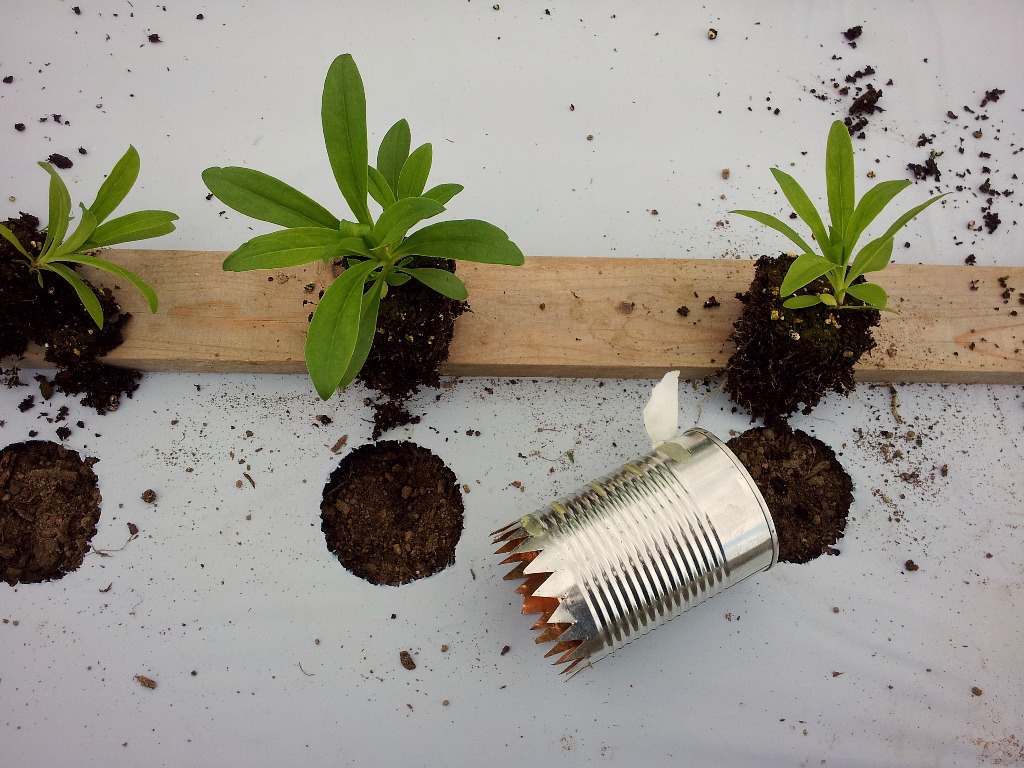
We usually try to do two rows at a time, giving us some security if a rainy spell should come. We then set about planting. On a good day, we can get an entire 300 foot row planted with two people busting it out. To make the holes, we use a tin can with the edge cut off. We used to cut “teeth” in the can like pictured, but have since found that it’s actually more efficient to skip the teeth and just cut a straight edge (think how sharp the edge is on the lid of a can you’ve just opened). It’s the most amazingly simple, yet effective, tool ever. Push down, twist, and remove . . . a perfect circle of plastic comes out. We just have to be careful not to nick the drip tape in our rush.
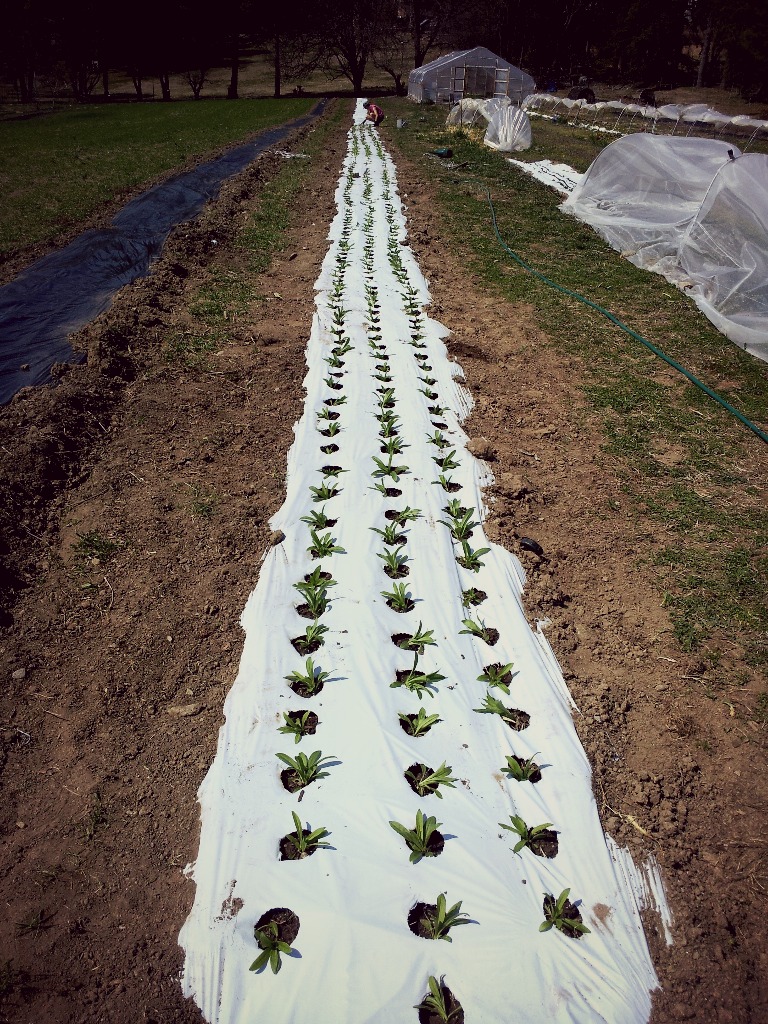
And then in go the plants! Thousands upon thousands of plants, all destined to become beautiful, colorful, fragrant bouquets! We’ll re-plant into these rows at least a second time after the first round of crops is done. Some really early/fast crops will actually allow us to get three crops into the same space. It’s hard to believe sometimes how quickly the field transforms from the bareness of spring (all you see is long lines of ugly plastic) to a rampant jungle of lush growth.


Wow!! Such hard work! I loved reading about your planting Jennie. Very informative and the tin can idea is great. Cant wait to see your crops! Love Julie in Oz x
Hi Jennie. Me again. Just wondering?? What do you use to control insect pests eating all your seedlings?? Julie
Hey Julie – Thanks for the comments! Thankfully there aren’t too many pest issues with young seedlings out in the field. In the hoop house, we occasionally have trouble with slugs. Good old beer traps catch those.
Very inspiring, love the can cookie cutter idea. We’ve had good luck with Bio-telo, biodegradable mulch- it’s made of cornstarch. Happy planting!
I’d never heard of mulch that breaks down. What a great idea. The thought of all that plastic mulch to dispose of is overwhelming.
So inspiring, Jennie! Happy to watch the process all the way through this year. Thanks for sharing.
you can really get three crops from one row? wowzer. I don’t understand how?
Wow thanks for the can idea, will try it!! Can you explain what you plant to get 3 crops out in one space/row, and I’m assuming you cut the grass between the rows and does that make it messy for the flower rows with grass all over? I’ve seen many do this though have never asked the question how messy the cut grass looks on everything…Thanks
Hi Jennie!
First time flower farmer here— I’ve noticed many flower farms have more space between their rows than many vegetable farmers. Is there a good reason for this or why this is a preference? I’m used to 12-18 in space between beds and notice many flower farms have many feet between. Thanks!
My walkways are 21″ wide because that’s the size of my push mower I use to keep them mown. The size of the walkways I think depends largely on how much land you have and how you want to manage the walkways. If you have lots of land, then making them wider so you can use a riding mower to keep them mown is pretty efficient. But if you don’t have lots of land, then narrow walkways make more sense. I know plenty of flower farms with narrow walkways. 🙂