Easy Homemade Regenerative Inputs for Your Farm: Leaf Mold Tea
Since the launch of the No-Till Flowers podcast, I keep hearing from listeners about how the show is helping them feel less intimidated by regenerative farming concepts. Each new episode seems to be explaining another piece of the puzzle by breaking down a big scary system into digestible bites. I remember feeling pretty overwhelmed by all the regenerative farming “stuff” that came when I first started doubting conventional ag approaches.
Just the idea of never taking my tractor and tiller through my planting beds again nearly blew the top of my head off. But once I got comfortable with that idea and saw that no-till cropping really did worked, I hit another big stumbling block when it came to turning my back on commercially produced “inputs” (fertilizers, pesticides, fungicides, etc). I remember first reading about this radical idea in the book Dirt to Soil by Gabe Brown. He wrote about how he’d stopped using fertilizers on his farm/ranch years ago (it was either that or go bankrupt!) and the soil has just gotten better and better since. That’s absolutely counter to everything any traditionally educated farmer is taught. Mind swirling in confusion, soon after Gabe’s book, I started reading about Korean Natural Farming (KNF) and another variation of that called JADAM. The basic premise of both is that a farmer can – and should – rely on his or her own local ecosystem to self-produce mineral and biological inputs for their farm’s soils and crops. Terms like “close the loop”, “zero waste”, and “cradle to grave” all hint at this very same mantra.
But why go to all that extra work when you can just buy bags of nitrogen or a formulated spray to zap whatever ails your crop? First, buying in your inputs is an added cost to production. Many farmers spend massive amount of money on buying fertilizers, pesticides, fungicides, and other inputs every growing season. In contrast, you can make your own inputs for pennies per application instead. Second, by making your own, you are self-reliant; free from a system that depends on Big Ag and perpetual commercialization that asks farmers to keep spending more money on newer and bigger products. Third (and most important to me), by using building blocks from the local ecosystem, you can make farm inputs that are in step with your farm’s natural biology. Rather than truck something in from across the country or even the globe, which is for all intents and purposes alien to your farm’s ecology, you will instead be using that which naturally exists in the space.
It is this last point that so closely aligns making your own KNF inputs with the broader scope of “regenerative farming”. To heal broken ground, reinvigorate life, and amplify soil’s innate ability to sequester carbon, we had best do that with what nature intended, rather than dumping lots of foreign material onto the land. It just make makes sense when you think about it.
In an effort to help anyone feeling befuddled or intimidated by making their own farm inputs – a la KNF style – I wanted to put together a three part blog series with recipes for three easy-to-make and highly-effective homemade regenerative inputs I use regularly at my own farm. We’ll start here with Leaf Mold Tea, my favorite!
For the record, I did not dream up any of these recipes for inputs on my own. They are all fundamental to KNF and JADAM. I relied on several sources to get going, including Nigel Palmer’s book, Chris Trump’s website, the JADAM handbook, and Bare Mountain Farm’s YouTube channel. I have tweaked all those formulas a tiny bit to suit my own needs, much like adapting a recipe from a cookbook to your own taste.

LEAF MOLD TEA
Also known at JADAM Microbial Solution (JMS) or Leaf Mold Biology
Goal: To gather the abundant microbiology of a healthy nearby forest soil, multiply it, and spread it around your farm or garden to increase the soil web there.
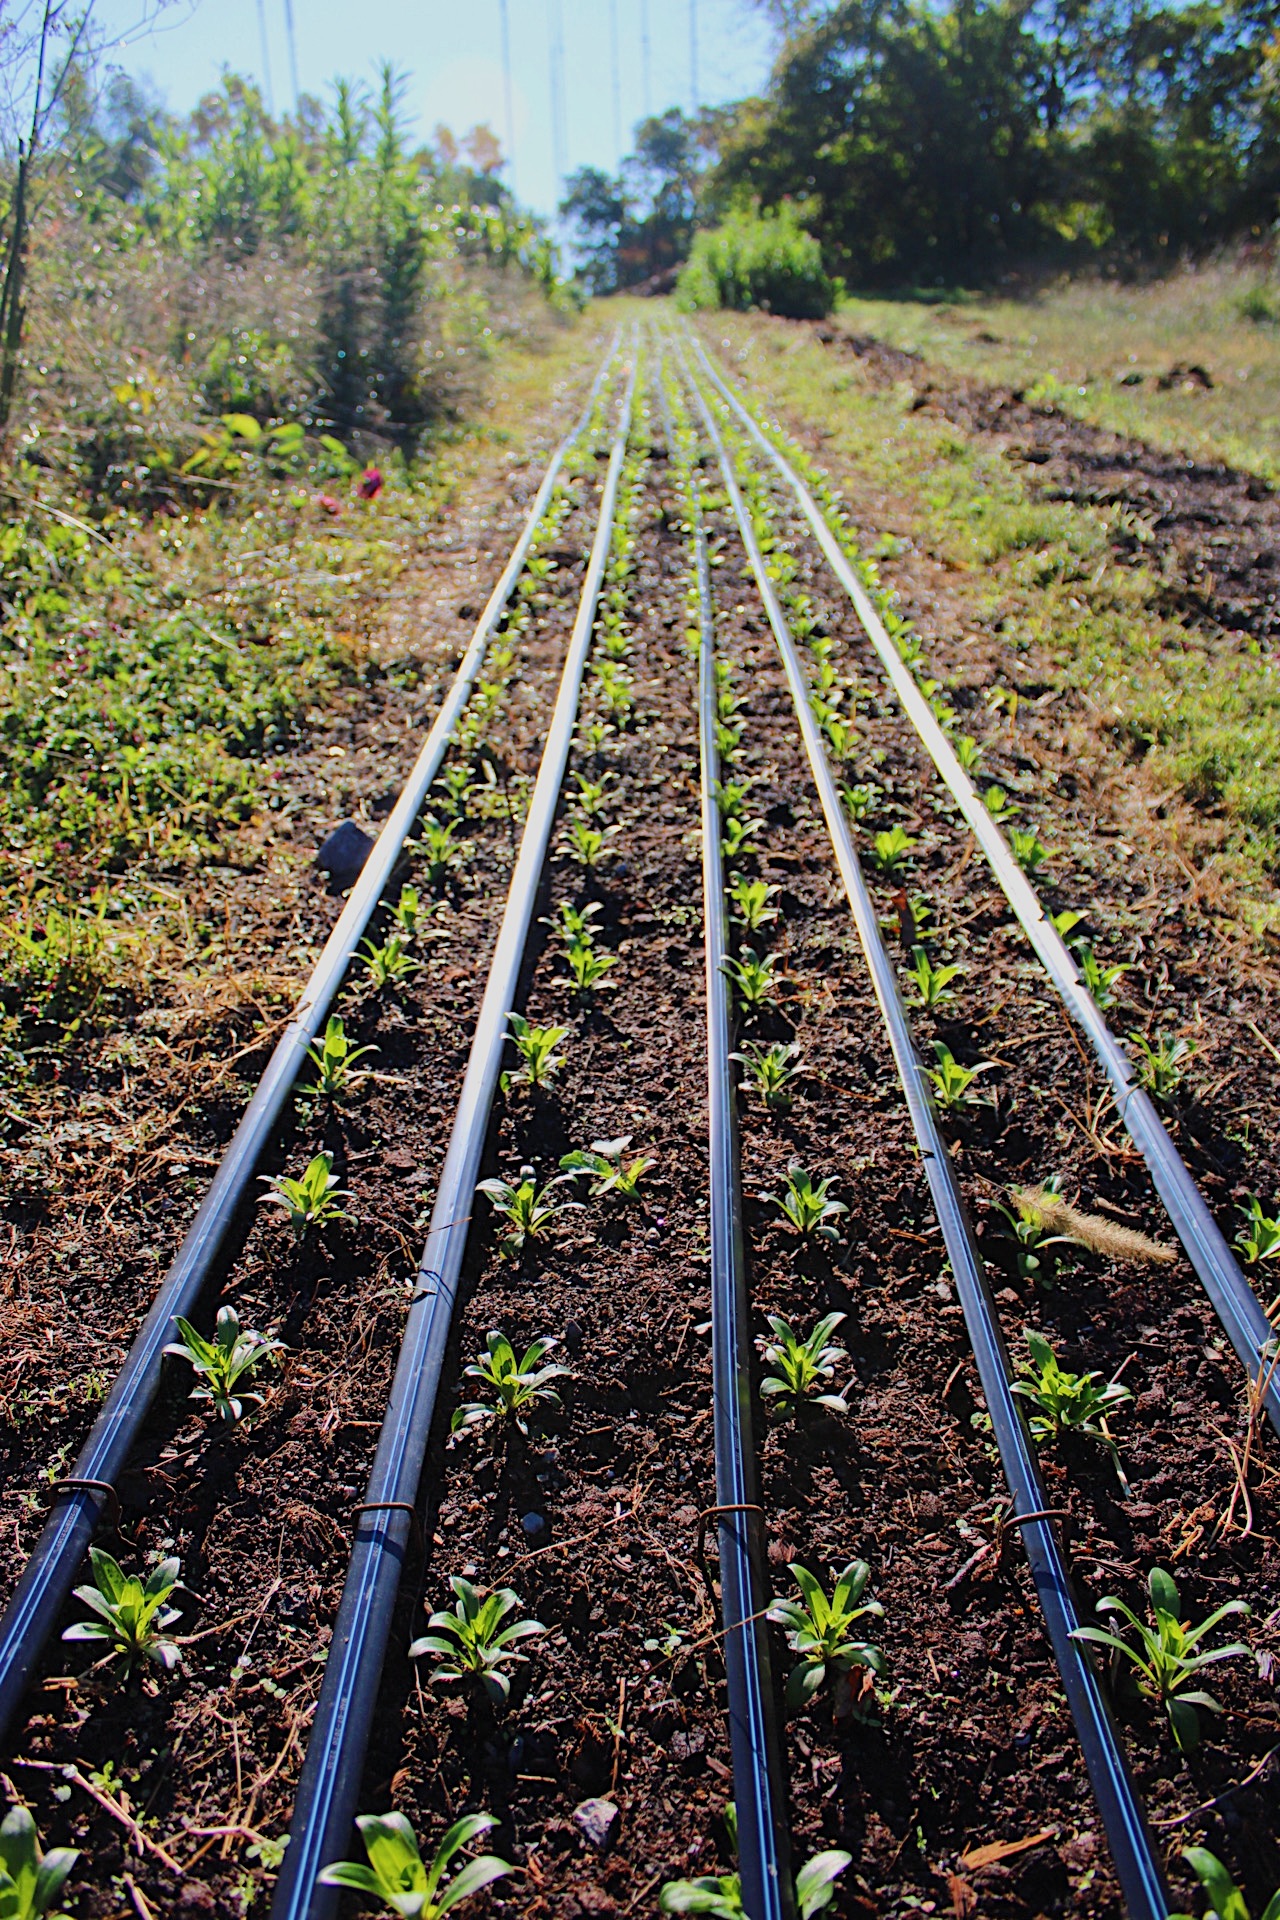
This is the input I’ve rely on most heavily for bringing biology to my tired soils. Wherever there might be compaction on your farm or if a given planting bed has been prone to root diseases in heavy wet soils, try a drench of Leaf Mold Tea. It can make quite a difference rather rapidly by introducing what I like to visualize as a herd of microscopic Pac-Mans racing around the soil, gobbling up bad buys and making tunnels for air.
“Leaf mold” is the dark textural loamy material that is on the forest floor when you brush aside the recently fallen leaves. It often can look like worm castings. In a healthy forest, there should be several inches of this “black gold” before you might reach the native soil underneath. Use your hand to scoop some up into a plastic sealable bag while out on a hike. Thank the forest for its gift. Treat it with reverence. This leaf mold contains billions of lives you are now asking to come with you to help your farm thrive.
Leaf Mold Tea should be made when night temperatures are above 40F. Biology builds in the tea best at a temperature around 70-75F. Because of this, I typically make and apply Leaf Mold Tea in the late spring, summer, and early fall. But I have made it in my hoop house this winter, using a seed heat mat under the bucket and Agribon 19 frost blanket draped loosely over the bucket to create a nice heat pocket. It developed very slowly at this temperature, but it still worked.
Ingredients
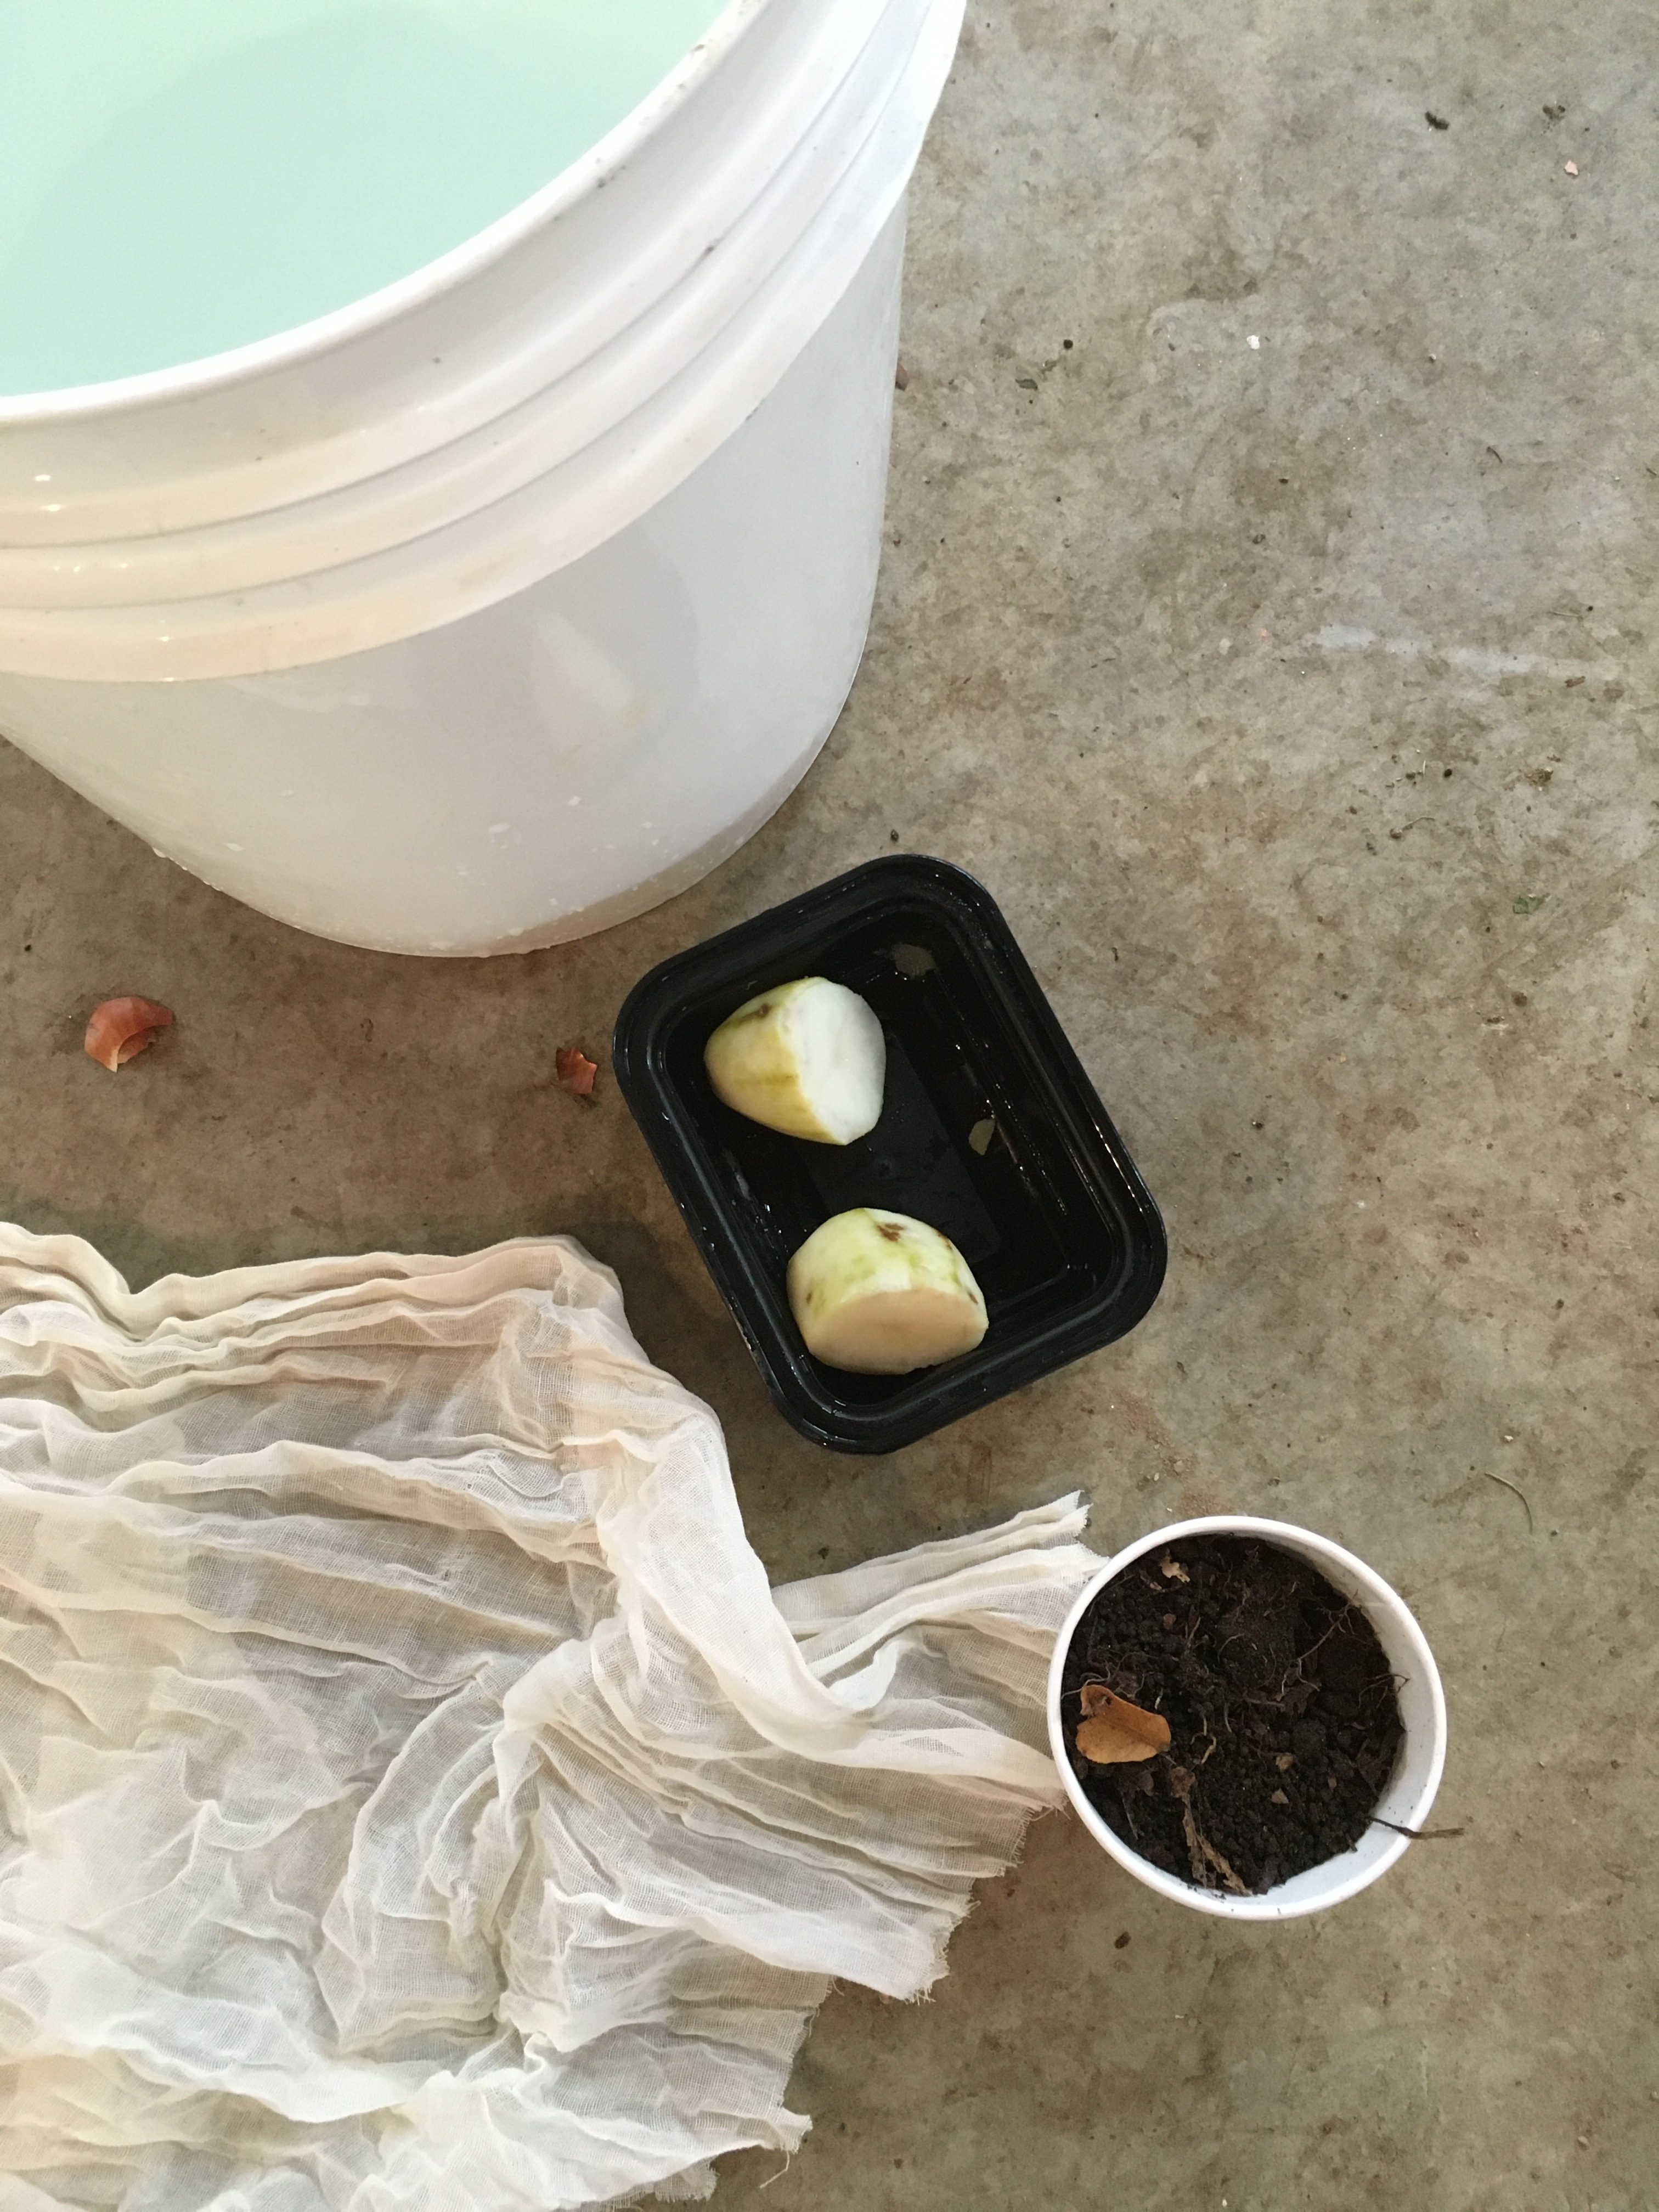
1 cup of leaf mold soil
1 medium (think “lemon-sized”) organic white or red potato, boiled
1 tablespoon of fine sea salt
4 gallons of rain water or water from the tap that has been left to sit for 24 hours in advance*
Tools
5 gallon bucket
2 fine mesh bags made of cheese cloth or similar (you can also use old socks in a pinch)
2 small rocks
Florist wire or similar
Wide wooden plank or sturdy piece of cardboard big enough to cover the bucket
To Make:
Place the leaf mold soil in one of the mesh bags along with one of the small rocks. In the other mesh bag, place the boiled potato and the other small rock.
Working near where you’ll want to ultimately use the resulting Leaf Mold Tea, put 4 gallons of rain water (or tap water that’s sat overnight) in the bucket. Thread the florist wire across the top of the bucket, from one side to the other, securing it firmly so it will make a sturdy “clothesline” from which to suspend your mesh bags in the water without letting them sink to the bottom.
Add the sea salt to the water and swish it around to get it to dissolve. Now secure the mesh bags to the wire “clothesline” at the top of the bucket, making sure they will stay suspended in the water about halfway down into the bucket. You may want to use a clothes pin, additional wire, a zip tie, or likewise to fasten the mesh bags to the wire if they don’t want to stay put.
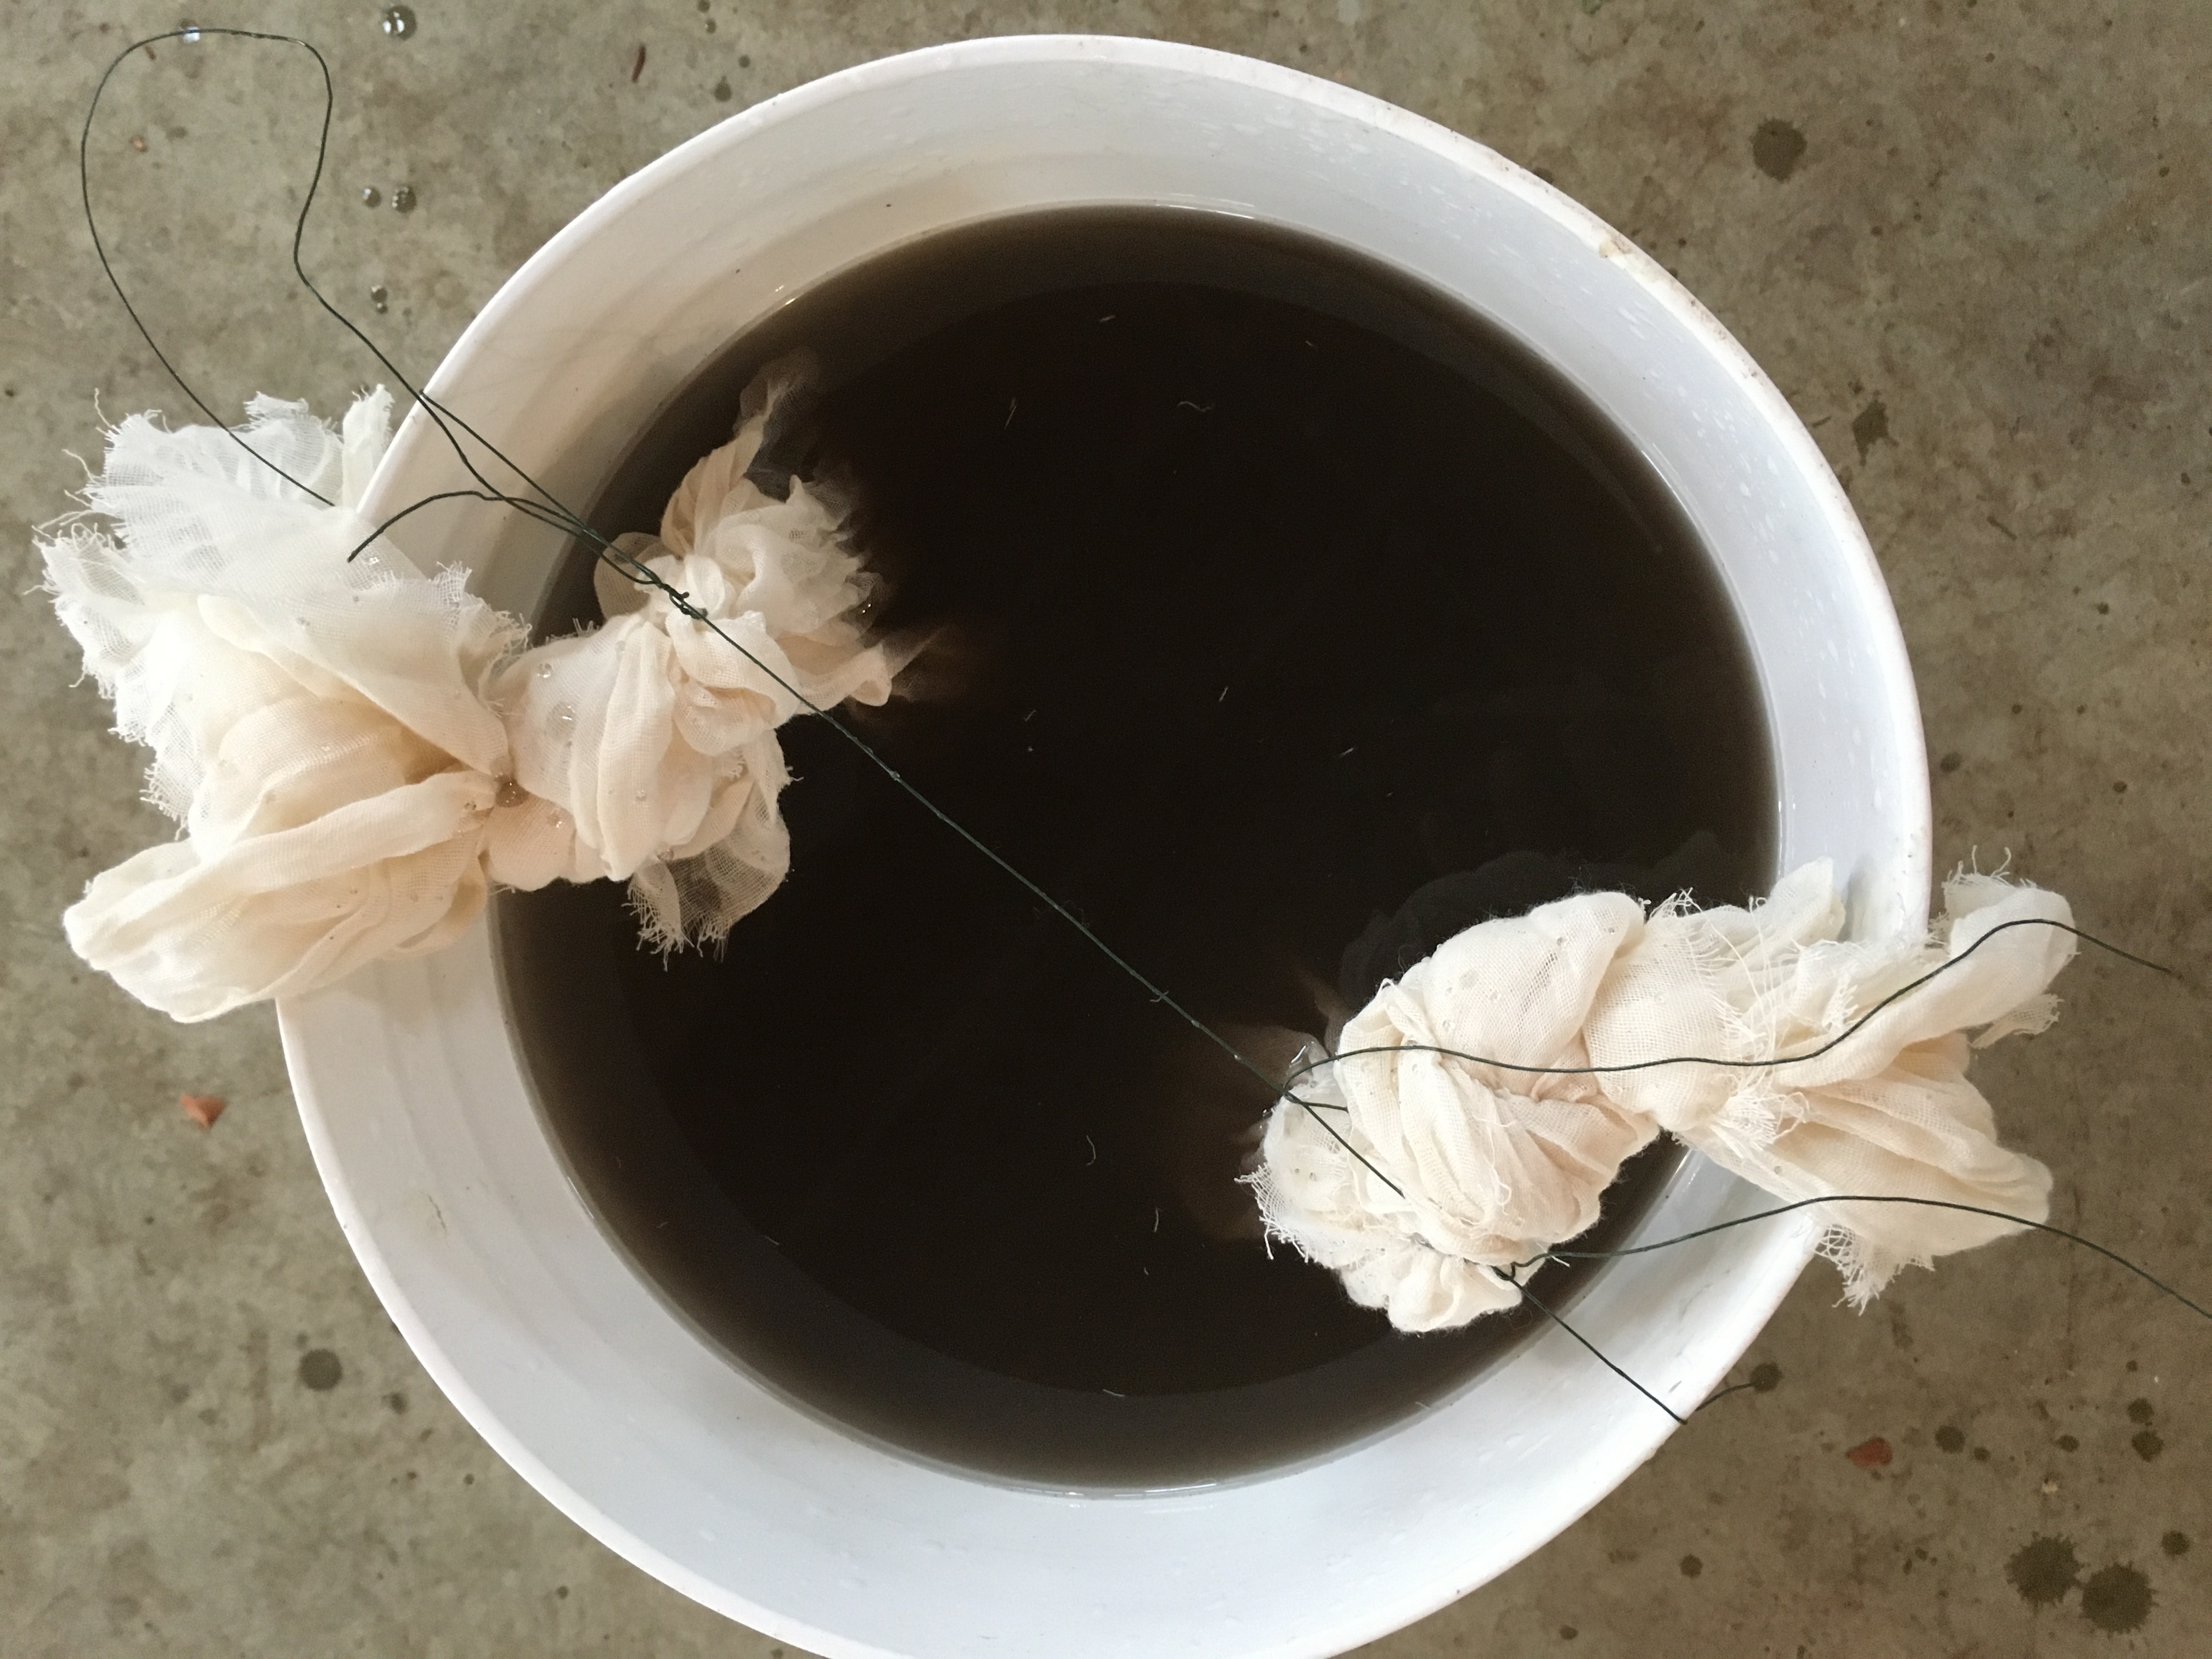
Once the mesh bags are in the water, take the bag that contains the potato in your hands (holding it below the water still) and smash it up so that the water turns cloudy with the potato starch. This is food for the microbes so they can multiple! Next, massage the bag with the leaf mold a bit until the water turns brown, ensuring water is penetrating well into the leaf mold.
Place the wooden board or cardboard over the bucket’s mouth to keep out rain or any marauding animals. Maybe put a rock on top too just to be safe. But don’t seal the bucket! The mixture inside needs plenty of air as it is full of life!
Check the bucket every day. The process can take anywhere from 2-6 days in my experience, but it varies greatly with air temperature. In warmer weather, the process goes quickly. In cold weather, it moves more slowly. So it’s best just to keep a keen eye on it. What you are looking for is a thin foam of fine bubbles to develop on the surface of the water. The foam will start in small patches but eventually spread to cover the entire surface. When the foam reaches the outer edges of the bucket, your leaf mold tea is ready. Use it immediately after the bubbles fully cover the surface because the biology will start to die from that point forward. You can not store Leaf Mold Tea!
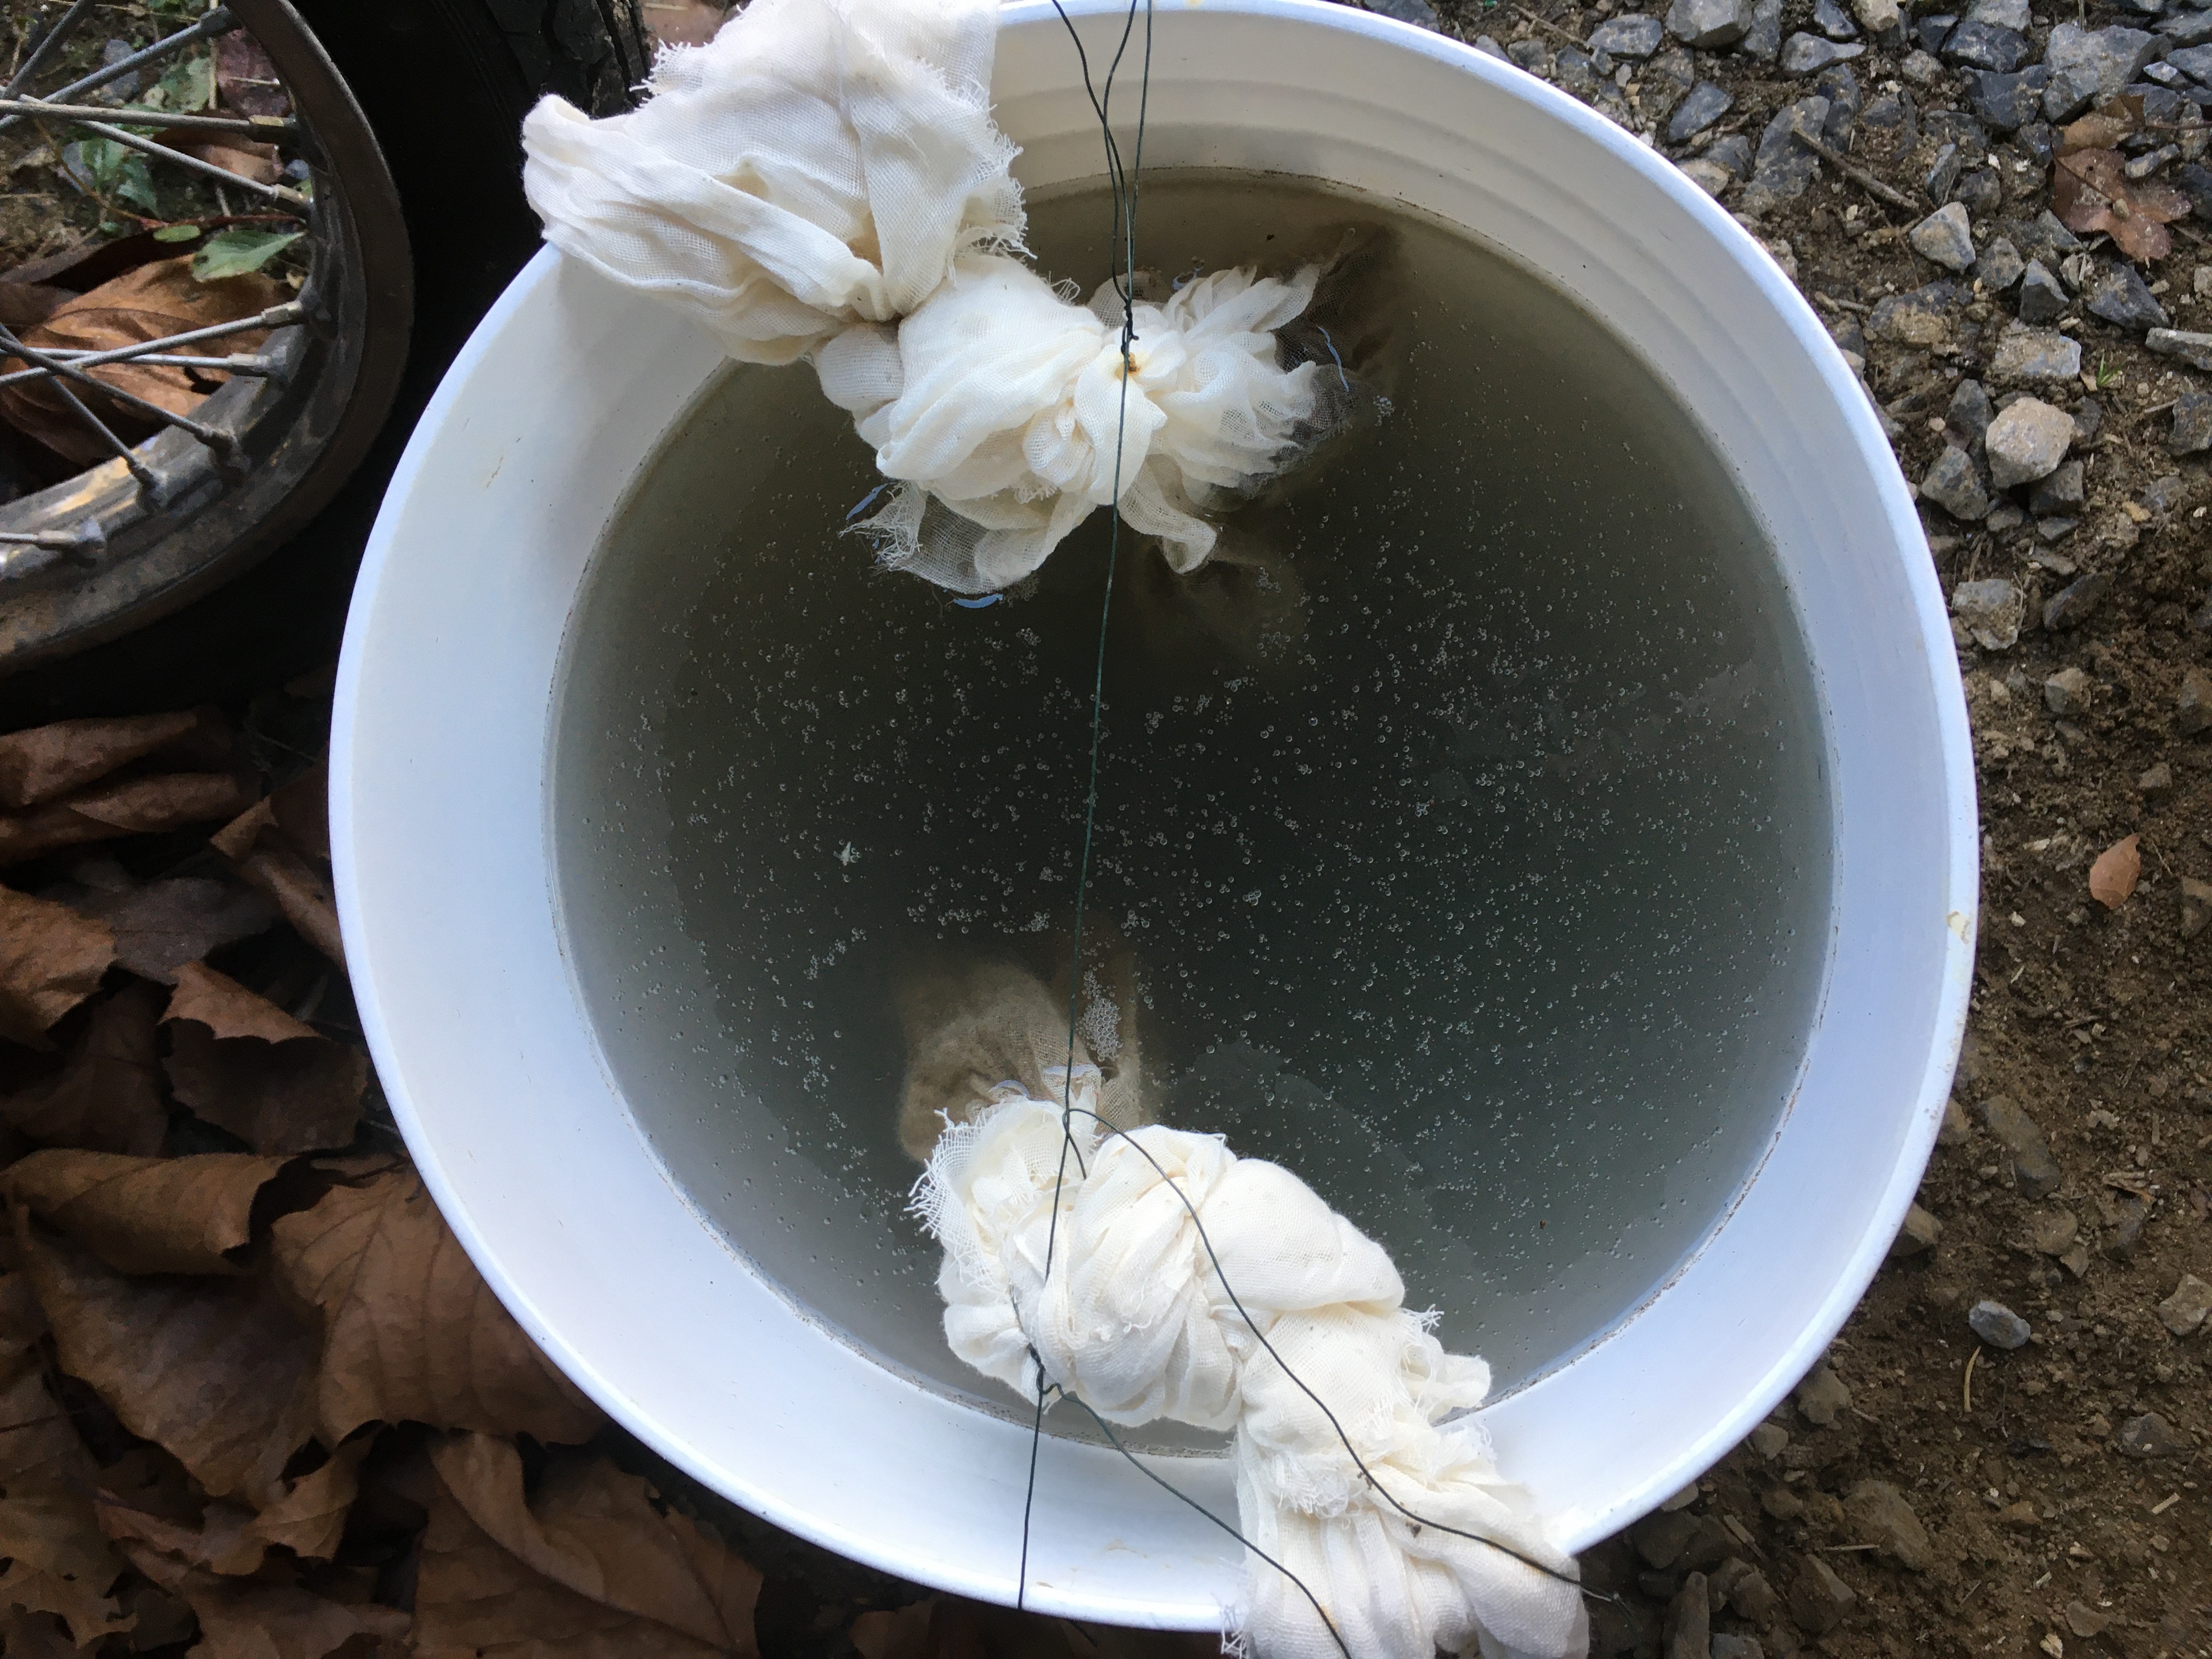
Bubbles are just starting to form. They will be more uniform and densely compacted at peak biology.
To use, remove the mesh bags. Use a stick to stir the contents of the bucket briefly so biology is evenly distributed in it. I like to use watering cans to then apply the leaf mold tea to soil.
For a two gallon watering can, I add one pint of leaf mold tea and then fill the can the rest of the way with plain water. You can dilute the tea more or less as desired. I like to apply the tea drench to already-moist soil, so either after a rain or on freshly irrigated beds.
Use the watering can to drench the soil wherever you are hoping to add more biology, combat compaction, improved drainage or address root rot issues. Leaf Mold Tea is also a great input for your lagging compost pile if you want to get it churning more quickly. I use Leaf Mold Tea a couple times a year in my hoop houses in particular to keep the soil life humming in there and break up long-standing compaction. I also like to apply this to my perennialized dahlia beds in the spring or fall so the microbes can work on the mulch residue and help loosen the soil that has settled around the tubers over the seasons.
Leaf Mold Tea may also be used as a foliar application to combat pathogens. I have not personally done this, but it is indicated in several reference books.
*Note: If you are on municipal water, you’ll want to make sure you draw enough water out into buckets 24 hours ahead of time to let it off gas any chlorine that would harm the biology in the leaf mold tea. This includes the water you’ll use in the watering cans for the drench.
If you are more of a visual learner, go check out this video by Bare Mountain Farm about making JMS (which is what I call Leaf Mold Tea). Tony does it a little differently than me, but it’s all the same idea and he’s great at explaining the process.
Up next will be a post on making Water Soluble Calcium (WCA), which is highly effective this time of the year in helping cool season flowers like anemones and ranunculus have strong, sturdy stems as they come into full flower this spring.
Thank you SO much for breaking this down into suuuuper, simple manageable terms. I’m so ready to make this now. I’ve been researching a ton and feeling my heart say yes, yes, yes to these techniques but felt overwhelmed to implement. I do not anymore! I can’t wait for your next blog installments. Again, thanks!
Woot!! Awesome!!!! 🙂
This is absolutely fascinating and I am eager to try it out! If I live on the prairies where forests aren’t in great supply, is there somewhere else I could collect leaf mold from? Areas with shrubs, or maybe native prairie landscape if I can find it? Haha Thanks so much for this learning experience!
I’m exciting you want to try it! If you follow the link to the Bare Mountain Farm video near the end of the post, that will maybe answer your question. Tony says he uses soil from the bottom of his compost pile. Give that a watch and see if it helps! 🙂
Thank you so much!
Thank you so much for sharing! Can’t wait to try it out!
Thanks so much for this great tutorial! I’ve been loving the podcast, but I’ll admit I’m still feeling a little overwhelmed by all the details. I made compost tea last year with biodynamic compost. I’d mix that with fish emulsion and liquid kelp and do a foliar application once a week, but I still feel like I’m feeling in the dark. I had a lot of insect pressure last year (leaf hoppers and maybe spider mites too) and I wasn’t sure what I could do to help with that. Any tips?
I know it can feel overwhelming but if you can shift that feeling from a sense of anxiety to as sense of curious experimentation, that might help. Instead of worrying that you’ll mess up, just be curious to observe how everything works together. At least that’s how I’ve been approaching it. 🙂 As for pest mangagement, you might want to give a listen to the recent bonus episode on the podcast all about dahlia pests. The approaches discussed in that episode can be applied to any type of crops. https://podcasts.apple.com/us/podcast/bonus-dahlia-pest-management-leeann-huber-coseytown/id1545850888?i=1000506166510
Finished planting this year’s tulip crop in the 8” trench today (whew) then found your no till tulips post. Yes!! I’m all in! Have experimented with KNF with our high school bio class, which was fun. Time to go all the way. Plan to listen to your podcasts.., thanks, Jenny! Barbara at Waverly School Farm
This is great! Years and years ago my mother told me that my grandmother would go out to the woods to get her soil for her garden! I never thought of it again until you just wrote about it. Thanks for sharing. I’m definitely going to do this. Have you ever made stinging nettle tea for your plants? This reminds me of that.
My grandmother did that too! 🙂 Yes, I make a fermentation with nettles (steep nettles in rainwater for 6 months until they completely dissolve) that is liquid gold for the garden!
Hi Jenny,
Thanks so much for sharing all of this great information. I started my little flower business 3 years ago and went no-till right away – I am a believer! I have yet to try to make my own tea – question is that if you rely solely on the tea for nutrients, are you now forgoing soil testing and just assuming that the elements in the tea from your local ecosystem will do the job?
Hi Karen –
Good question! No, I still religiously test my soil every autumn. I still want to know where my pH is at and what my mineral levels are so I can make adjustments to those. While leaf mold tea is a wonderful homemade input, it is not adding any nutrition or minerals to the soil. It’s simply boosting biology (life) in the soil. I’ll be writing about other inputs I make to use on the farm and they are for nutrition/minerals. And while they are homemade, I still need a soil test to help guide me to know what deficiencies might be in my soil. It’s also important to be observant on your farm to see what is growing well and what is not, which can be very telling about what specific mineral inputs (homemade or otherwise) you might need to use.
LOVE the podcast Jennie! We are taking our flower farm no till one step at a time.
I would love some episodes about no till establishments for Perennials on a flower farm and how to prepare those areas for new plantings of perennials. It makes me NUTS every time I see instructions to start with landscape fabric to establish perennials. And I can’t stand the way it looks.
I added phenomenal lavender last year to our farm and planted without landscape fabric. Did I cuss and swear through the season to have to get over there and weed? Yes. Is my hard work paying off now? YES…the plants are thriving and the weeds are minimal. No till for the big win on our small start so far!
Thank you Jennie! Will try this.
Question: do you think a bubbler, normally used for compost tea, would keep the brew aerobic? Otherwise, is there a danger of introducing anaerobic microbes?
Do NOT use a bubbler. This is not the same as compost tea. Just follow the directions in the post. 🙂
Thank you so much Jennie, for your wisdom, time and energy; you are a thoughtful and generous teacher. I will be anxious to try leaf mold tea this growing season. I found you while searching for guidance on growing and what a resource jackpot I hit! This will also be my first year applying compost tea to plants so looking forward to having bigger more prolific blooms. Love Organic all the way!
Thanks so much, Jennie! I definitely plan on using these techniques this season.
Can I use Himalayan salt instead of sea salt?
No, I believe the salt should be sea salt as it has important minerals that I don’t think the Himalayan salt would have.
I’m so excited to try this! We were just out mushroom hunting and I grabbed a small bag of soil from the forest floor. It has some fur needles mixed in and not sure if that affects anything. Also wondering if it’s better “store” the soil until the spring or go ahead and make the tea and apply now even though the growing season is pretty much over. I’m so incredibly grateful for all the knowledge you share and I’m become such a crazy soil nerd and I’m proud of it.
Good stuff, Mindy! If the soil temperatures are still in the 50s or above where you are, you can go ahead and make/apply leaf mold tea now. If the soil is really cold already, then the biology in the leaf mold tea won’t have time to settle in and set up house before they’d have to go dormant, in which case just wait. But it’s best to use freshly gathered leaf mold from the forest as the biology in stored leaf mold will also go dormant if left out of the soil for very long. So hopefully you’re not too cold there yet and can get a batch applied yet before real cold sets in.
Thank you Jennie, so helpful!!! I’ll go ahead and do it now. I do layer my beds with grass clippings and leaves so that may help keep the beds warmer and keep the good biology going for a bit. It’s pretty warm here in Oregon still (very unusual) so I’ll take it as a sign I should go for it. Again, so grateful for you and all you’ve taught me ♥️
Can someone help me? I have tried to make this twice now. My last batch was last night. I used white potatoes, organic sea salt, and soil with leaf mold from my local park that has a river leading to the gulf in the back. The water I am using has no chlorine, chloramine or fluoride in it. I follow the directions to a tee. I place it inside my grow tent, since that’s the temp I need, and I cover with a cloth. After 8 hours, there is still no foaming or activity from what I see. This time around, I use fresh worm castings as well from my own worm bin to see if that would help. I still have nothing happening. What am I doing wrong?
Hi Chris- It usually takes 36 to 72 hours to see the foaming. Hopefully you waited a little longer with you batch and saw it come to life after a day or two.
Hey,
just curious on timing. We live in Zone 6. I’d like to improve the soil in the high beds as well as greenhouse. I’m thinking, I could use the leaf mold tea to water the greenhouse as the temperatures there do not go down to 0°C (32F) during the nights, but I should wait for warmer times for outside beds. What would be your proposal for this?
Moreover, circling around your posts I’ve read that you use the Leaf Mold tea twice per season in your greenhouse. When exactly are you using it? Is there any specific for that? E.g., like 2 weeks before planting? Just after planting? whenever you want 🙂
Thanks for help.. I really love this idea of regenerative farming
Hi Rita – We usually use the leaf mold tea in the spring when we prepare beds for planting and then in the fall when we flipping all the beds in the house to plant overwintering crops. You could use the leaf mold tea in your greenhouse now if you’d like. With all natural regenerative farming practices and application, it’s all pretty flexible and you should rely on your own observations there at your farm to guide you since every farm has it’s own context. It’s great to hear you’re adopting regenerative techniques!
Your recipes have inspired me to make JMS and Eggshell Extract next week and maybe some weed juice with buttercups and dock, my predominant weeds. My challenge is getting the solutions to my paddocks. My horse farm is 97 acres with pastures, forest, streams, springs, marsh land, and mountains in 25 paddocks, some of which are a 30-minute walk down the mountain. I have 10 paddocks which are close and downhill from the house. I could reach portions of them with 400 feet of hose, which would be a bear, but I don’t have a lawn mower, tractor, or farm vehicle. I have a fertilizer mixer jar which attaches to the hose at the hydrant, a sprinkler, and a sprayer mixer for the end of the hose. I also have a pull behind sprayer which is hard on my hand and tips over on my hills which wouldn’t be so good for drenching anyway. For now, I will have to give up on my lower pastures which are healthier anyway since they are only grazed for a few months in the summer. I want to concentrate on my upper paddocks which have loads of dock and bare spots (except in the summer when crabgrass (calcium deficiency) covers the ground and provides outstanding nutrition for the horses. I plan to plant summer and winter cover crops and route the horses through the woods so paddocks can rest more in addition to Jadam and KNF. Any suggestions for getting these solutions on the land would be appreciated.
With a farm of your scale, you would need larger equipment, particularly a tractor or an ATV that can haul a tank sprayer. You certainly have too much land to do these applications by hand.
Should this mixture have any funky smell when it’s finished? Just wondering if mine has gone bad…
Jennie, I don’t know how I missed that you started a podcast on regenerative flower farming and that you have all of this info available here… but THANK YOU! This is a huge gift to this industry (and the planet and the future). I can’t wait to dig into all of this. I grow so small scale that I have never tilled, but have been wondering about inputs like this tea and just can’t wait to listen to your podcast- I know there is SO MUCH to learn. Also great to know about the books you referenced. Thank you so much for this!